Skip the carving knives this fall and let paint take the spotlight. Painted pumpkins last longer than carved ones, while designs can range from letters and plaid to silly faces and glued-on props.
Tempera, acrylic, and washable paints all work well. Start with a clean, dry pumpkin, lightly sketch the design with a pencil or washable marker, and then paint.
Color-Blocked Candy Corn Pumpkin

Place the color-blocked pumpkin near greenery to balance its bright colors with natural ones. Paint the top black and the bottom purple, then add candy corn eyes and a pink nose. The mix feels lively and fun.
Black Glittery Spider Pumpkin
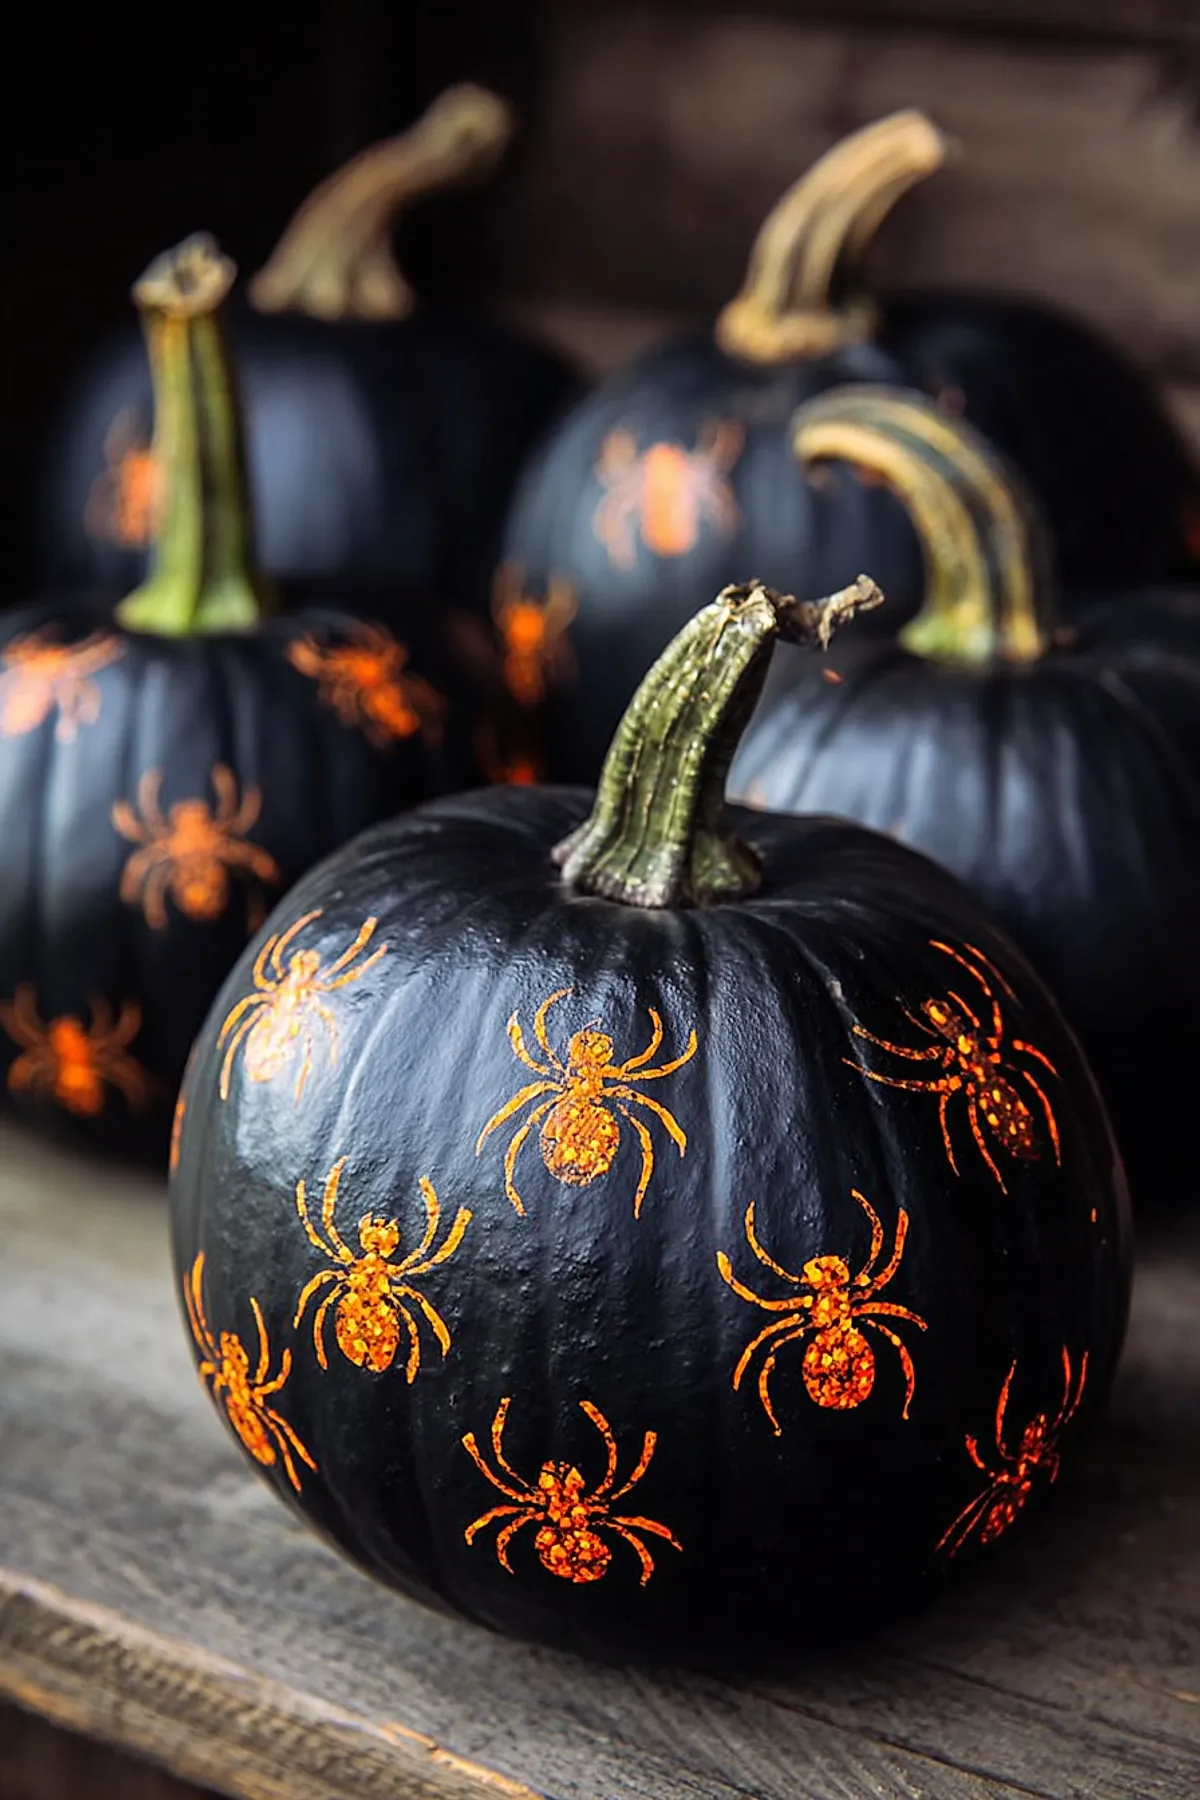
String lights can be seen underneath the tiny spider. The spider is painted orange and covered with glitter, and it sits on the black pumpkin.
Acrylic paint helps the glitter adhere to the pumpkin. If children are helping, use washable paint instead. Unlike carved pumpkins, this pumpkin retains its shape for weeks.
Haunted House Ghost and Skull Pumpkin
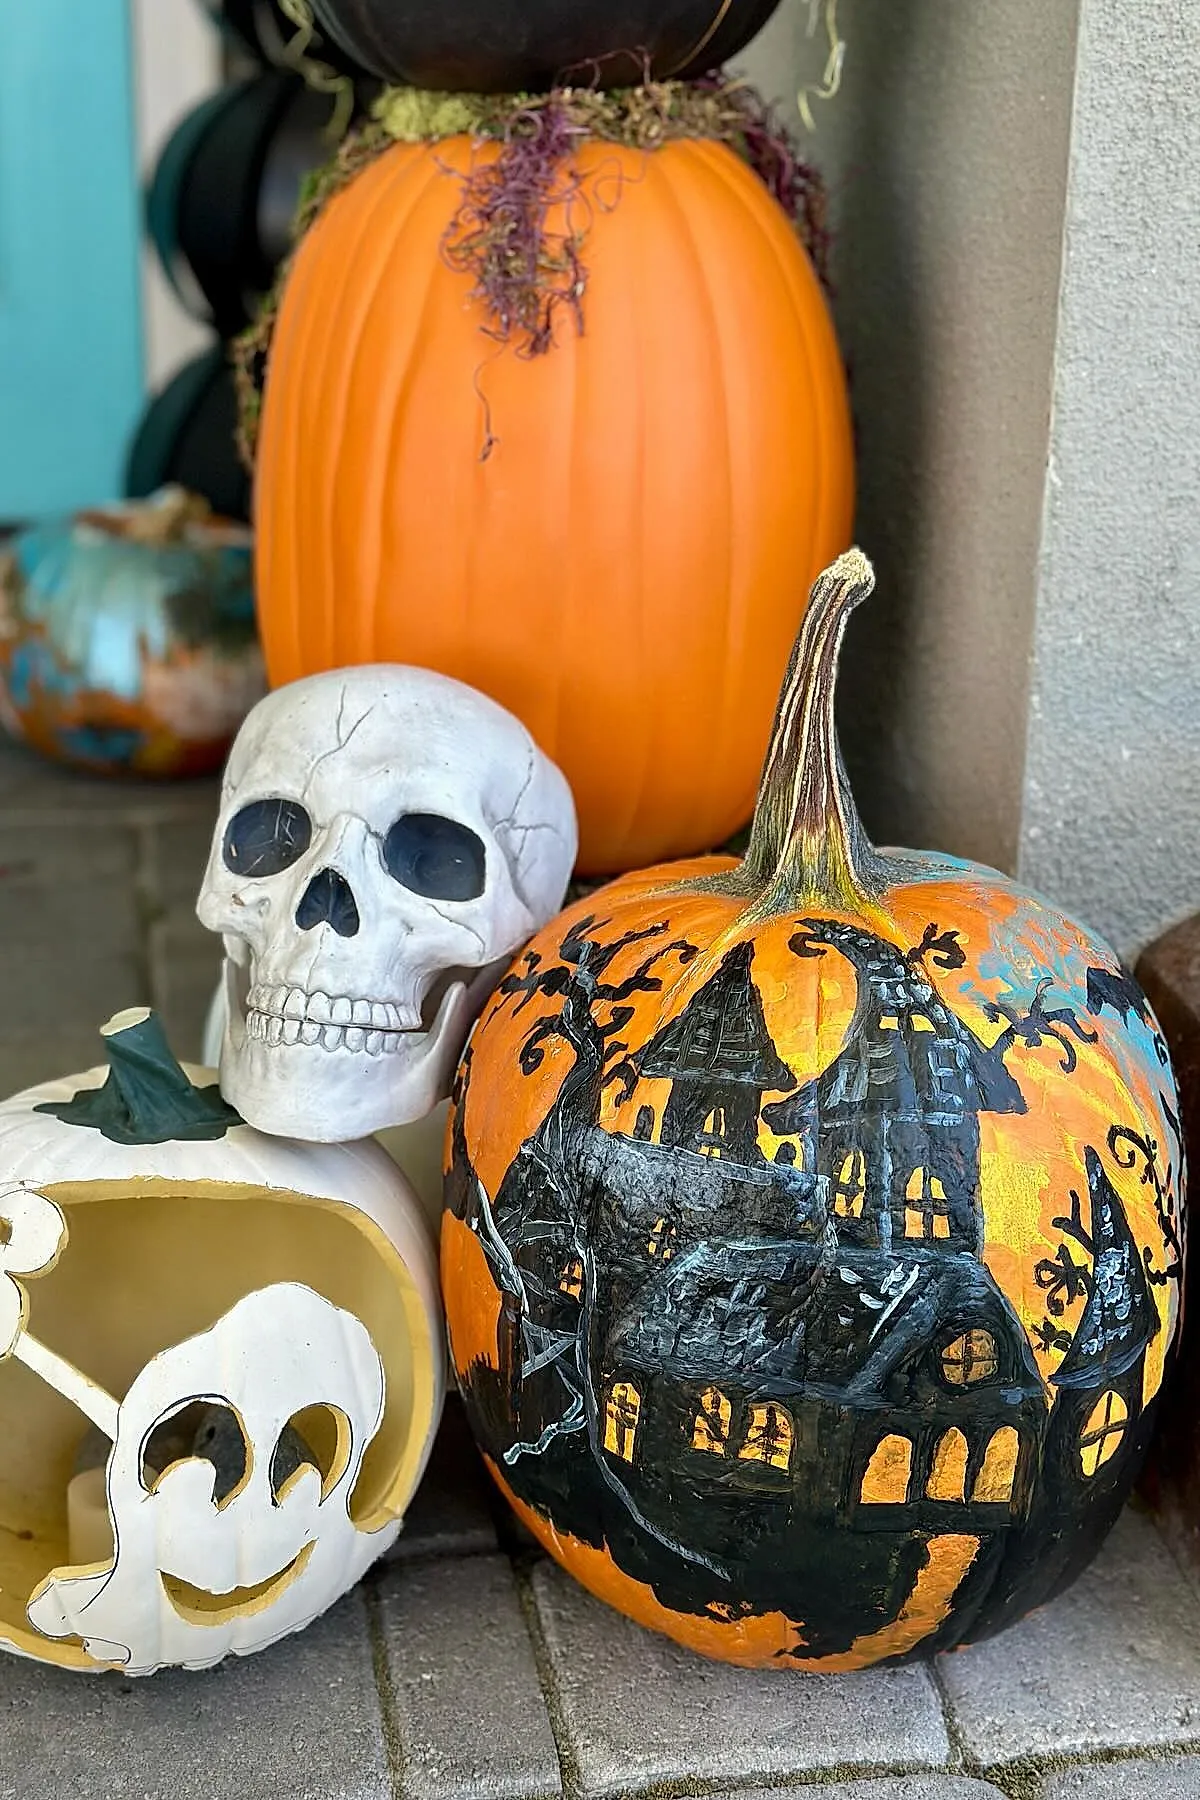
Nearby, a dark house with warm yellow windows creates a mini scene. Add a couple of ghosts and a skull around it to form the story, while the tidy, sturdy design remains attractive through the end of the month.
Samhain Pumpkin
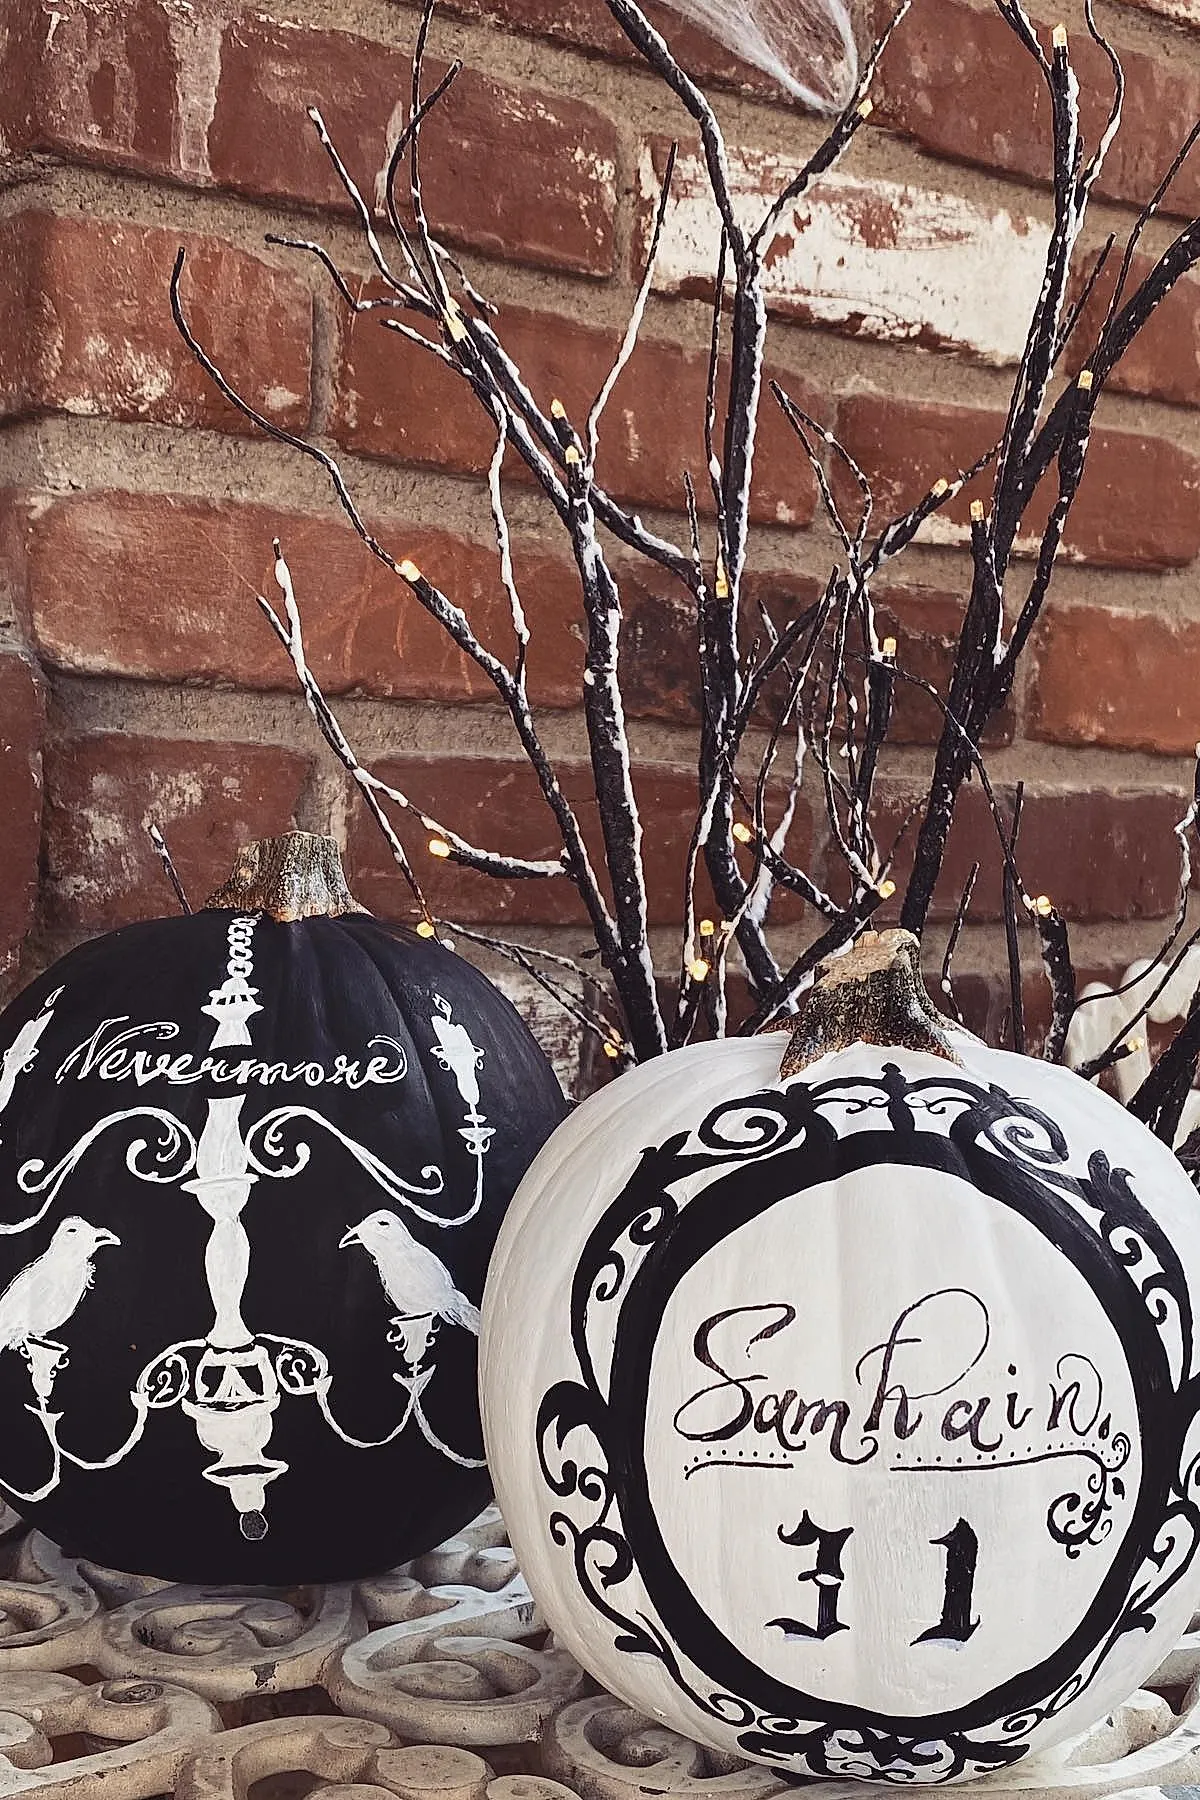
On a dry base, use a thin paint pen to outline the details, then add flourishes and hand-letter the word on the pumpkin. The black-and-white vintage look is slightly spooky and detailed without being fussy, and this method avoids carving tools.
Soft Beige Halloween Pumpkin with Black Patterns
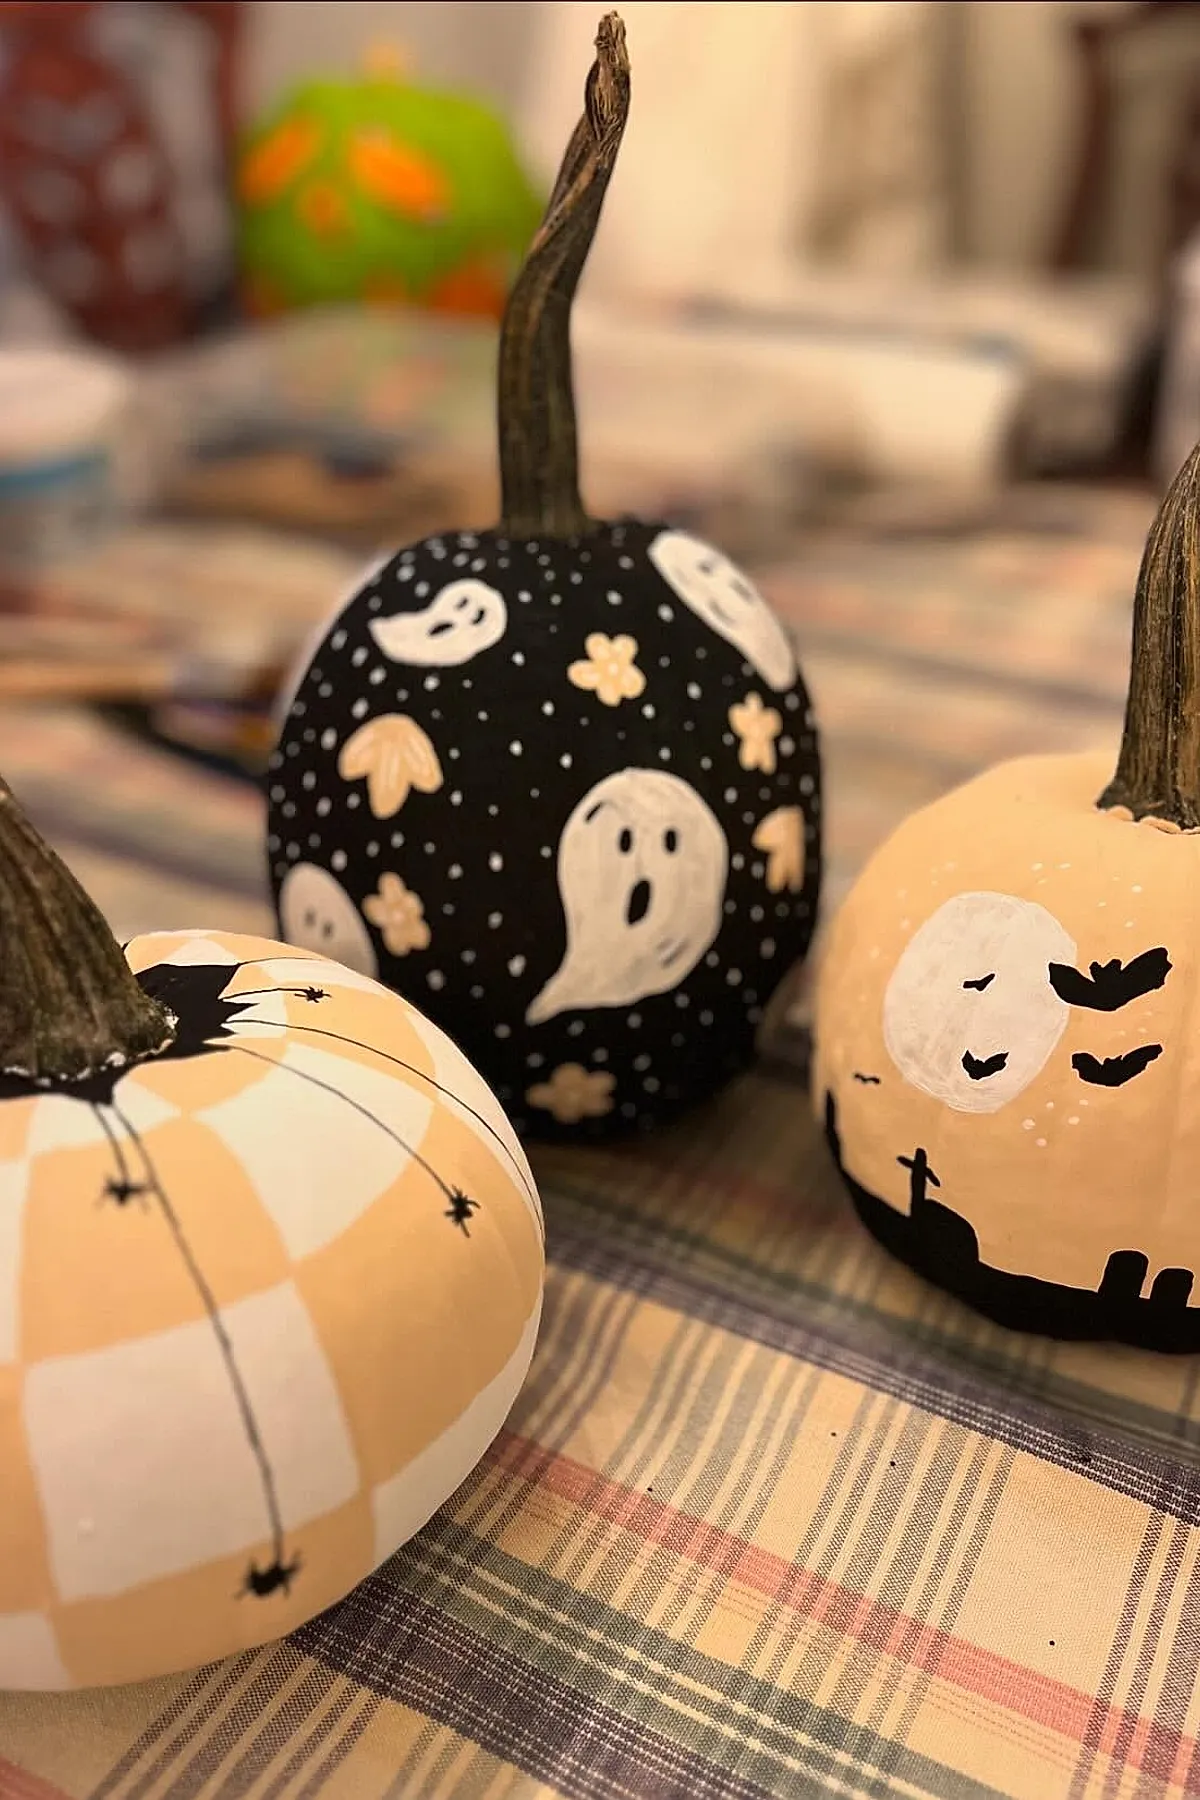
The soft beige base gives the design a gentle starting point, with black bats, black ghosts, and tiny black webs layered over it. Together, the pattern feels fun rather than scary.
Black Candy Corn Pumpkin
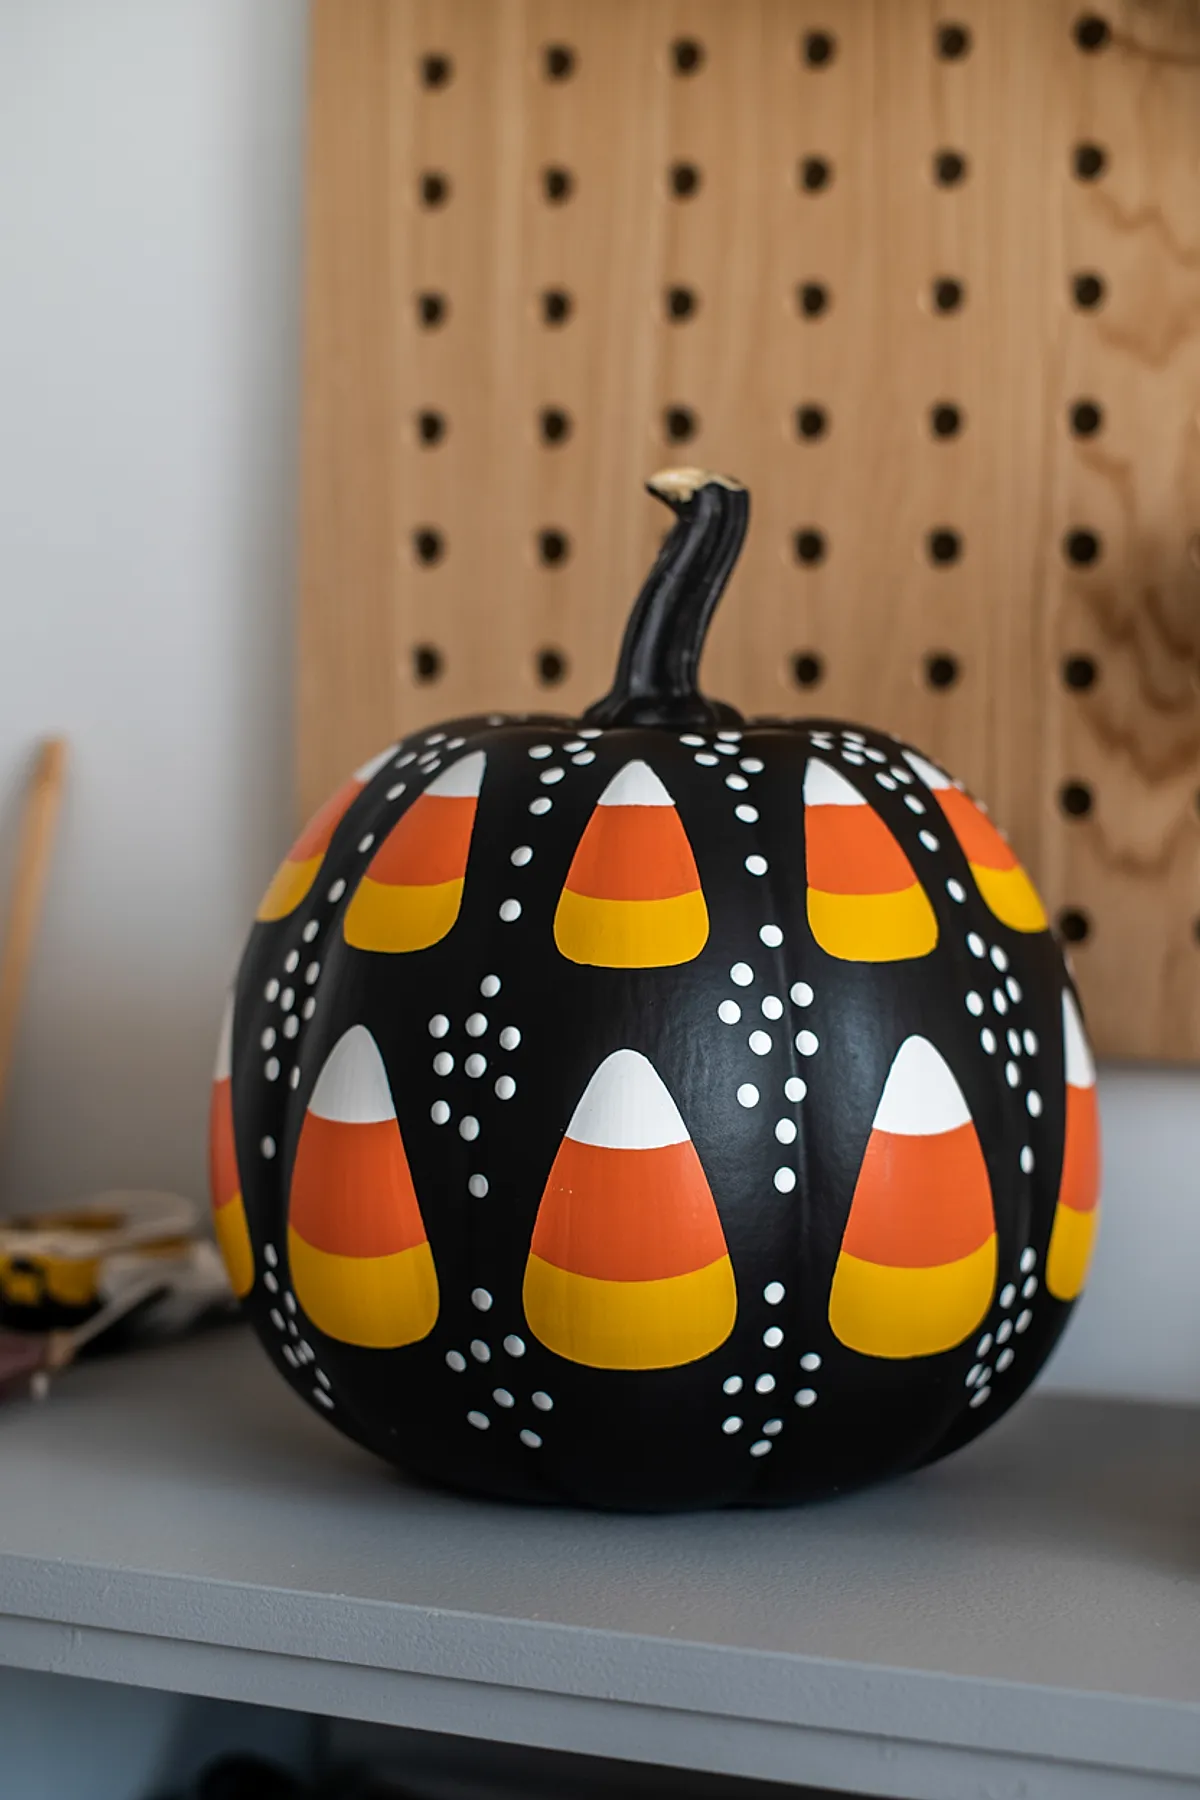
Paint orange, yellow, and white candy corn shapes on the black pumpkin, then scatter dots around them for extra texture. The black base makes the candy corn colors more vivid.
Large Pumpkin With Tiny Pumpkins
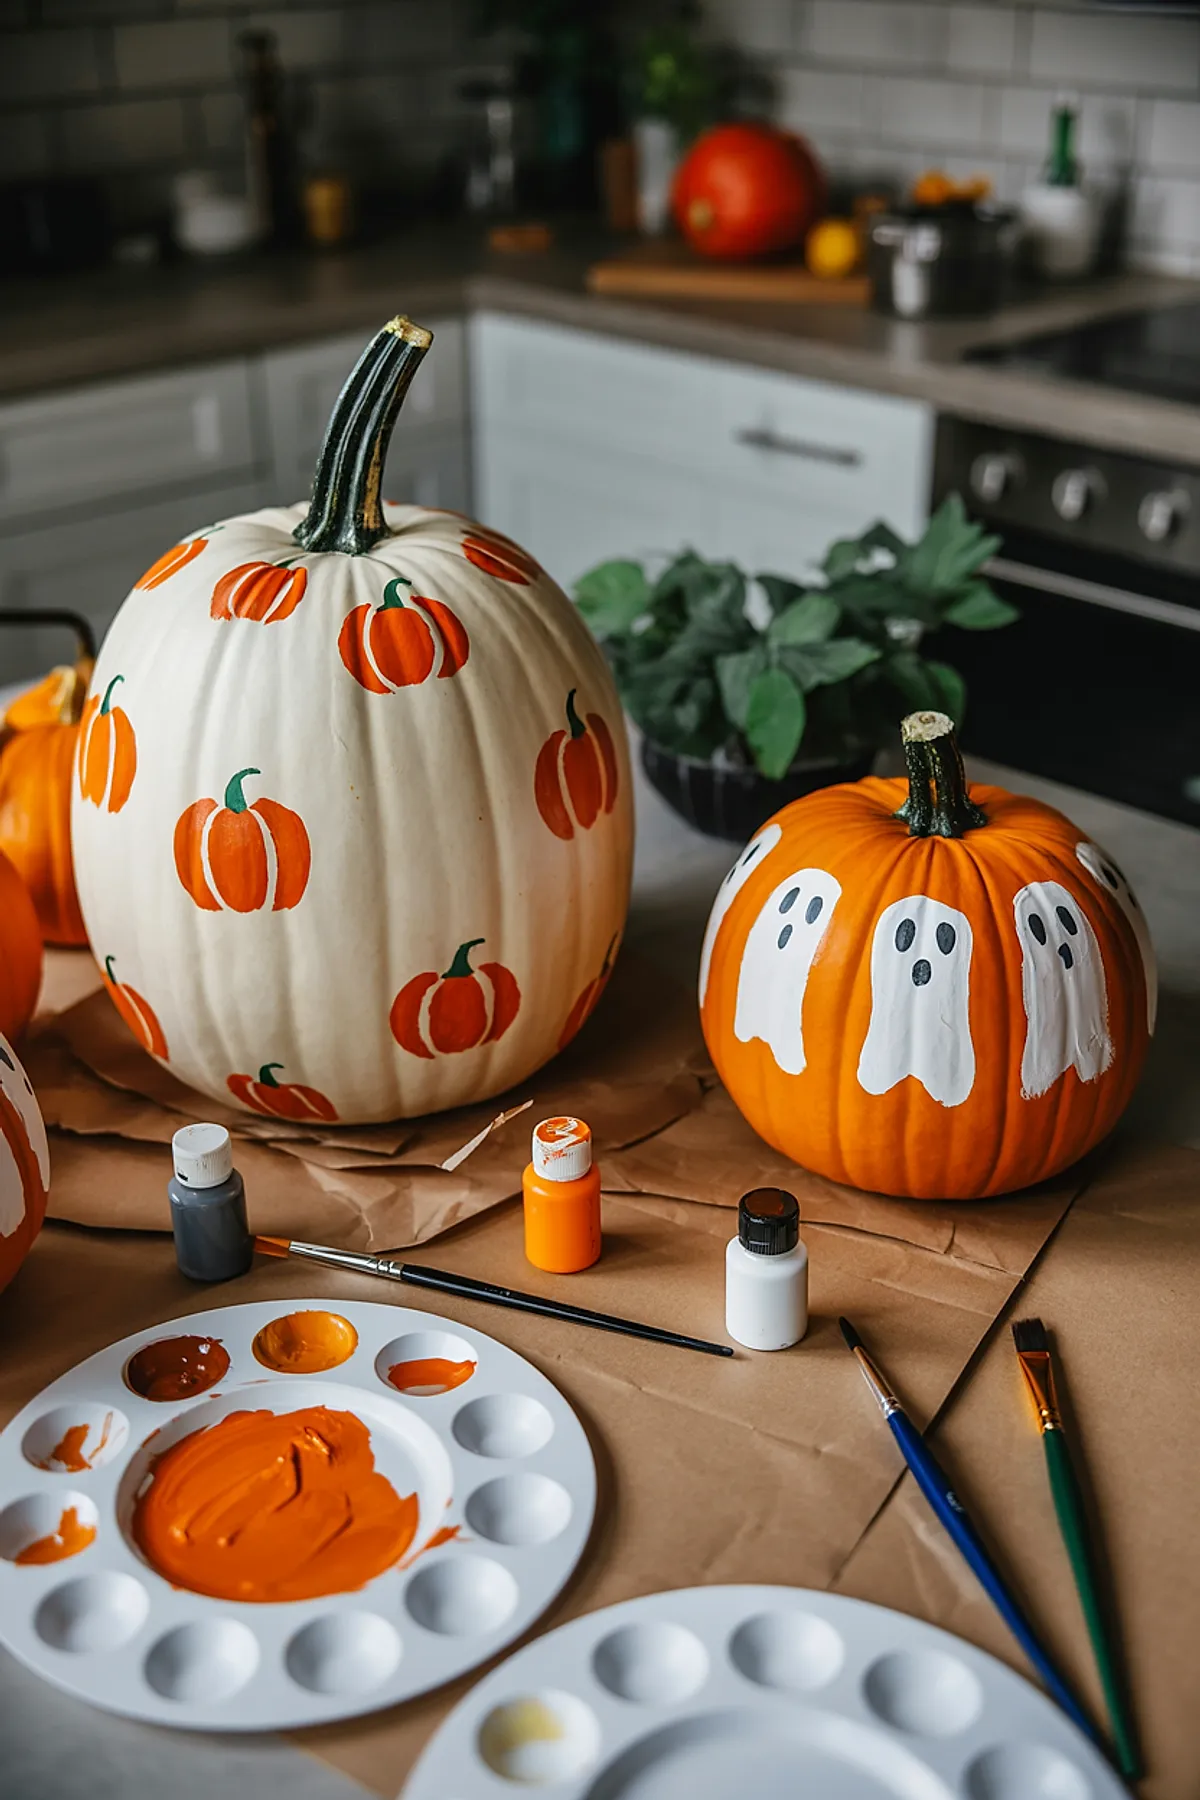
Lightly sketch the designs first so the spacing stays even. Then paint the tiny pumpkins onto the large pumpkin along with the simple ghost faces.
Round Peach and Black Chevron Pumpkin
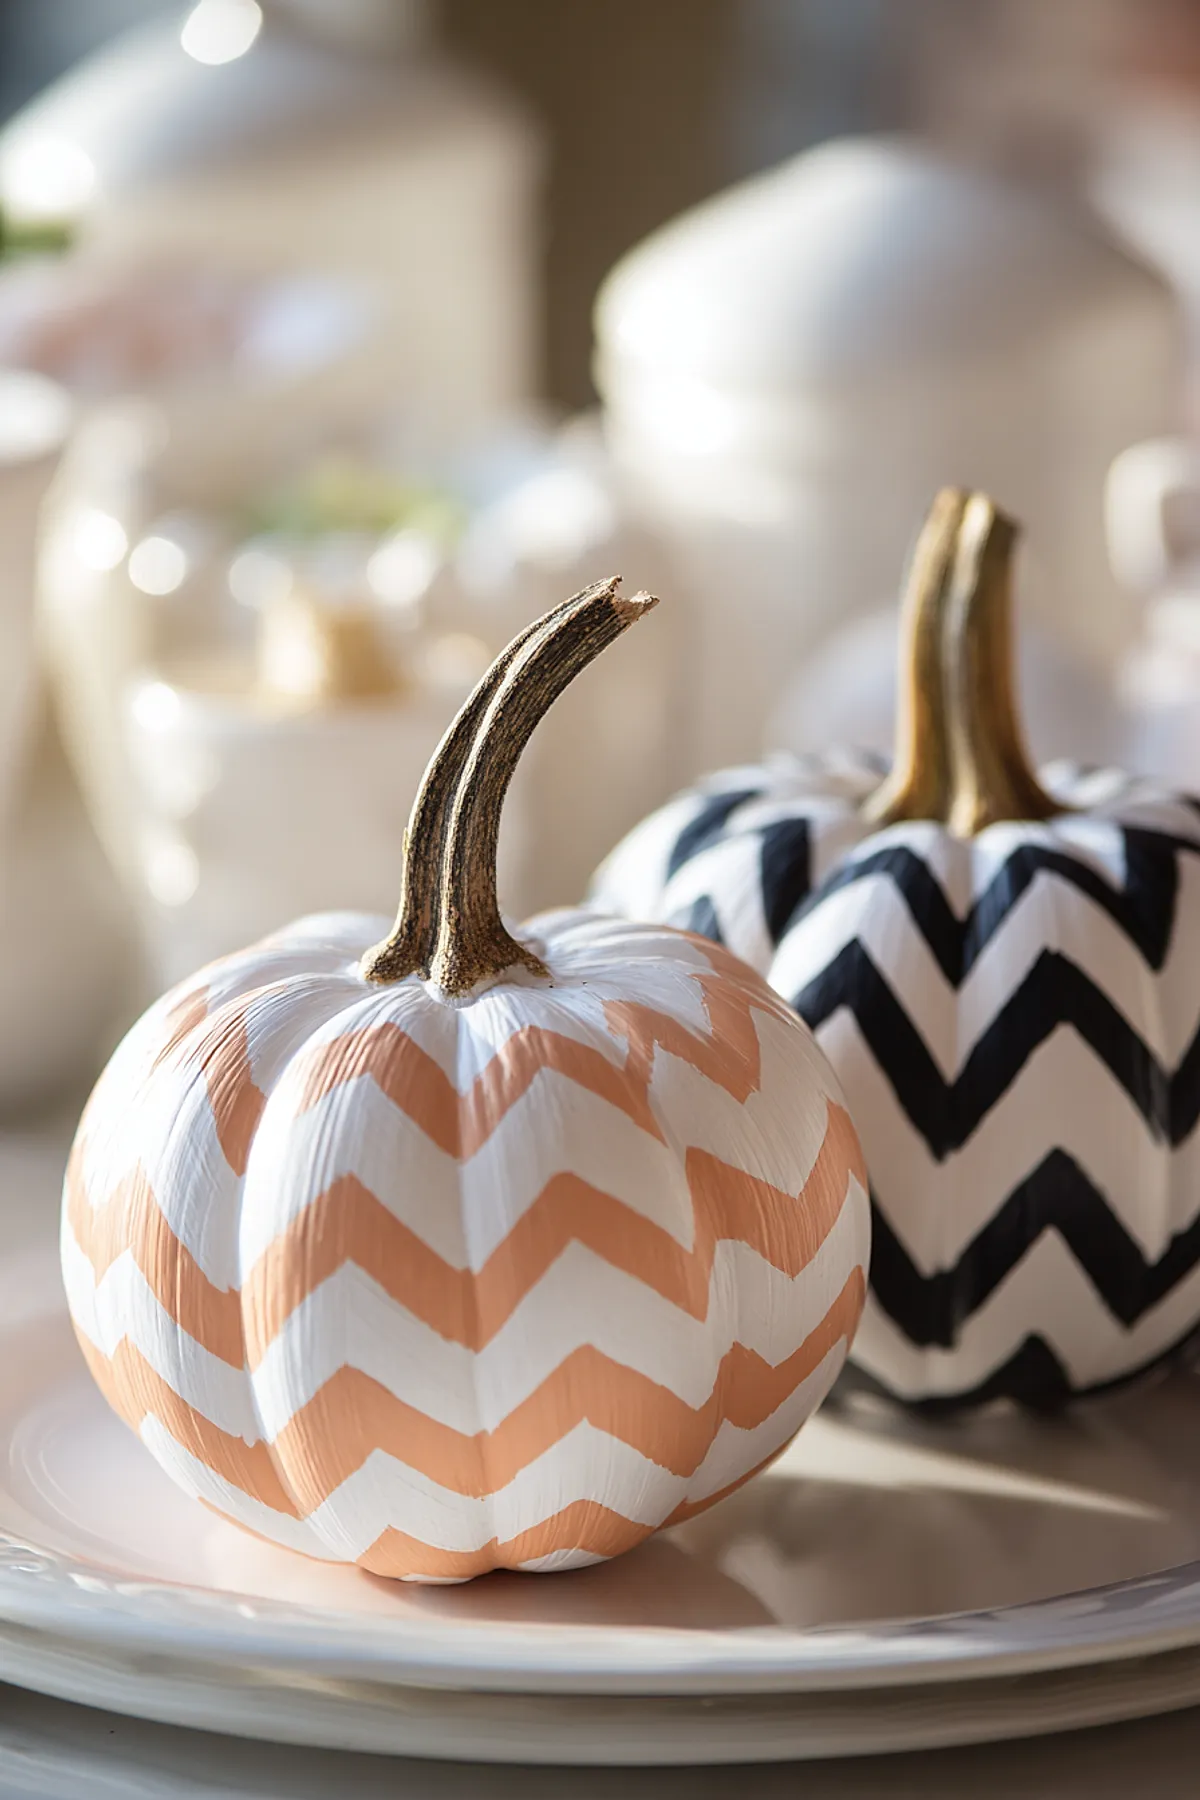
A tray of painted pumpkins can group this piece with the rest of the display. The peach feels soft, while the black graphic feels crisp against it, and acrylic paint helps keep the edges neat. The chevron follows the pumpkin’s grooves.
Seasonal Trio of Hand-Painted Pumpkins
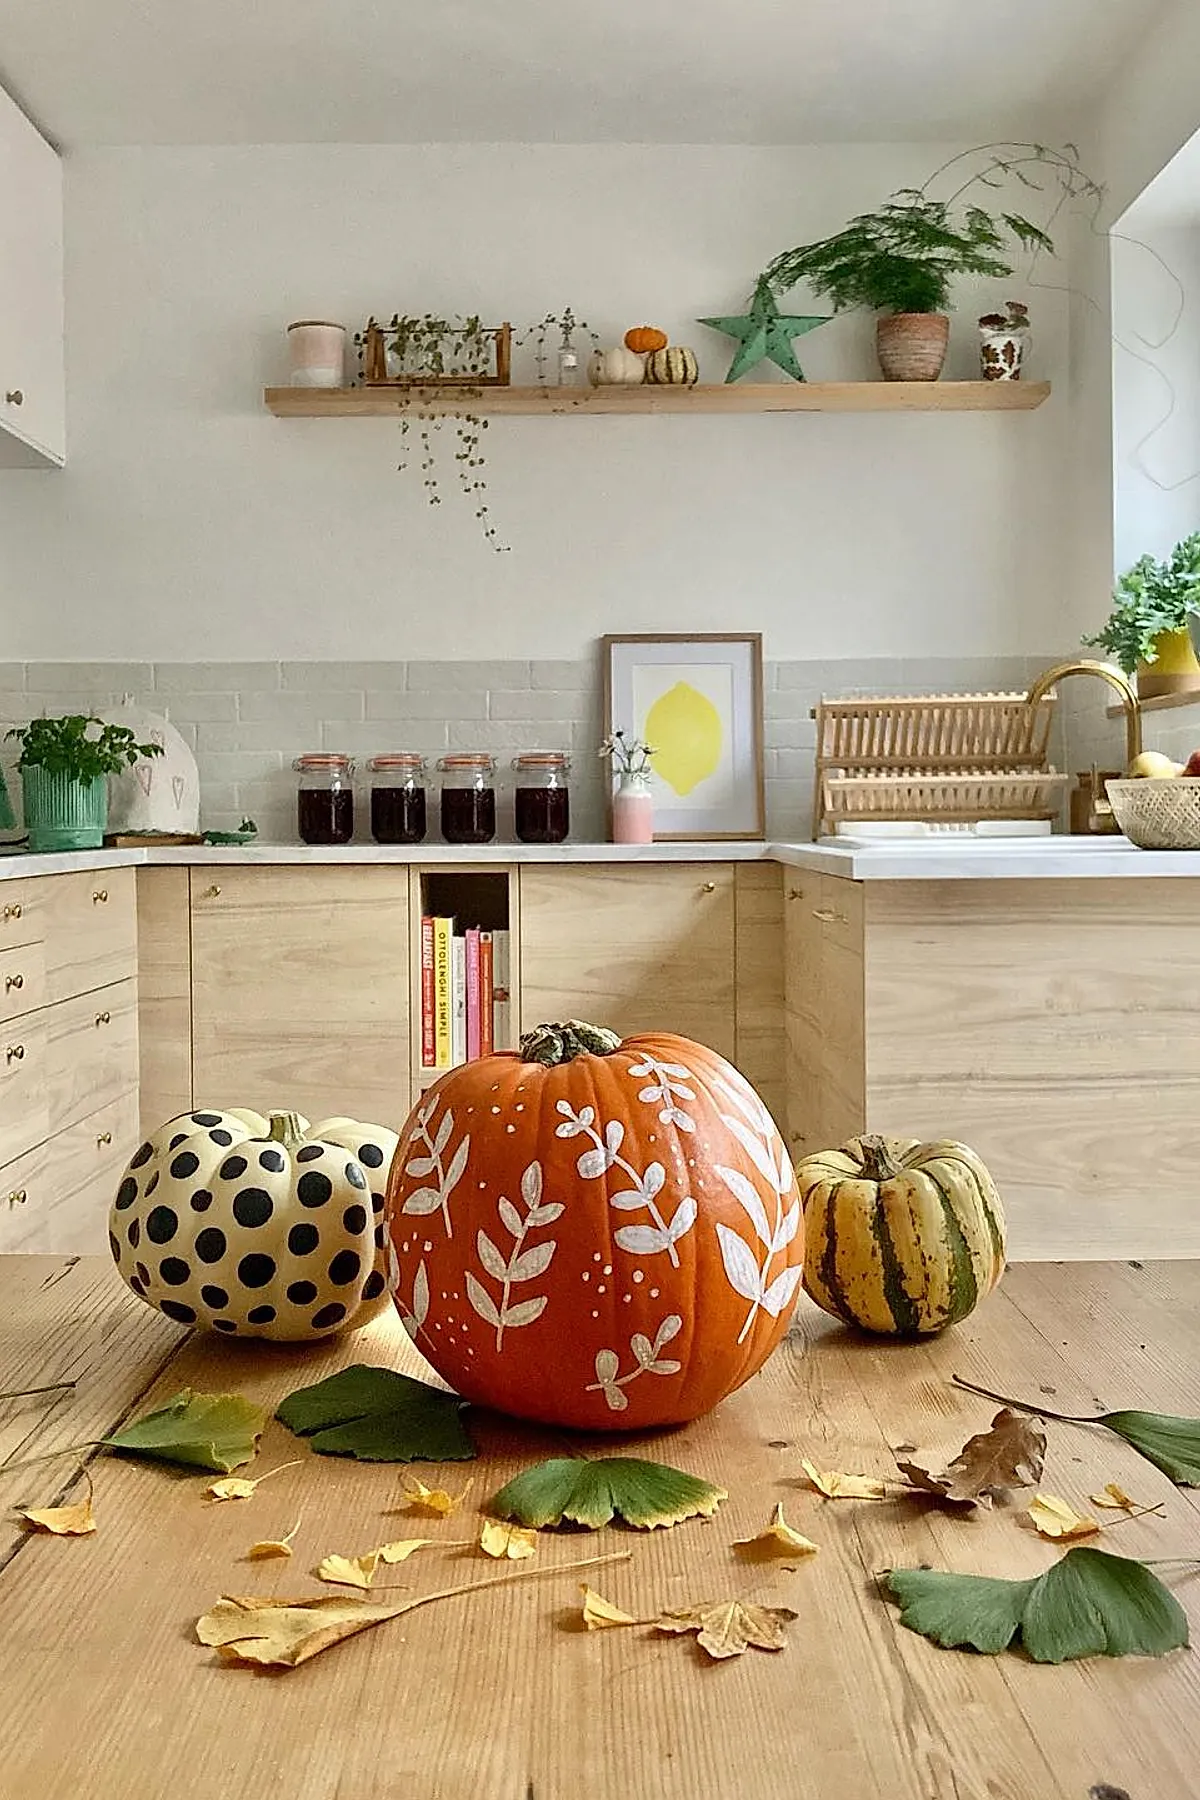
The hand-painted pumpkin trio sits on a wooden board with real leaves placed around it. Fill the shapes with a mix of sizes and colors, and lightly sketch them first to work out the placement. Simple dots paired with simple leaves keep the setup usable through fall.
Pumpkin Painting with Rainbow Glitter Splatter
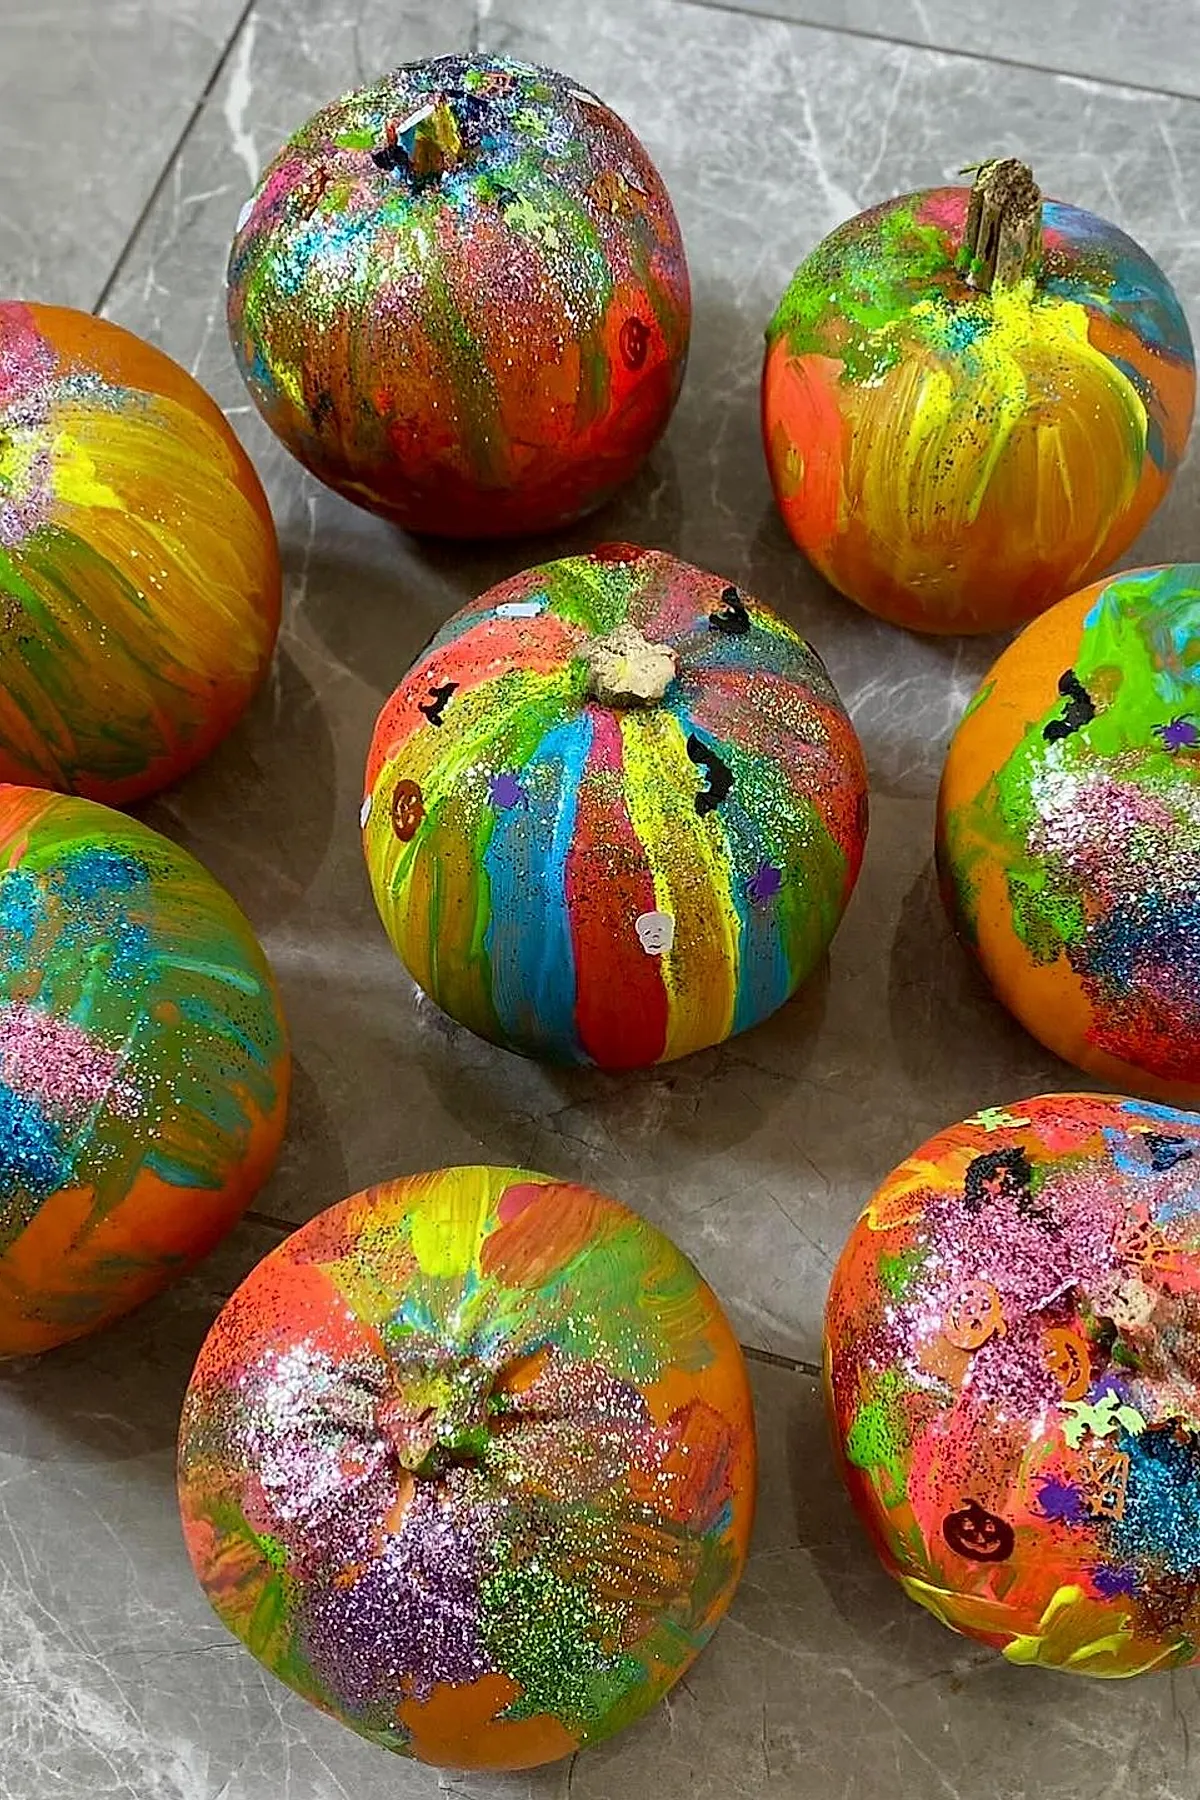
Glitter can sparkle under porch lights, especially when it is shaken over paint that is still tacky. Apply loud-color neon acrylic paint to the pumpkin, then shake on the glitter for a glitter-splatter finish. The paint colors run slightly.
Chevron Pumpkin Painting
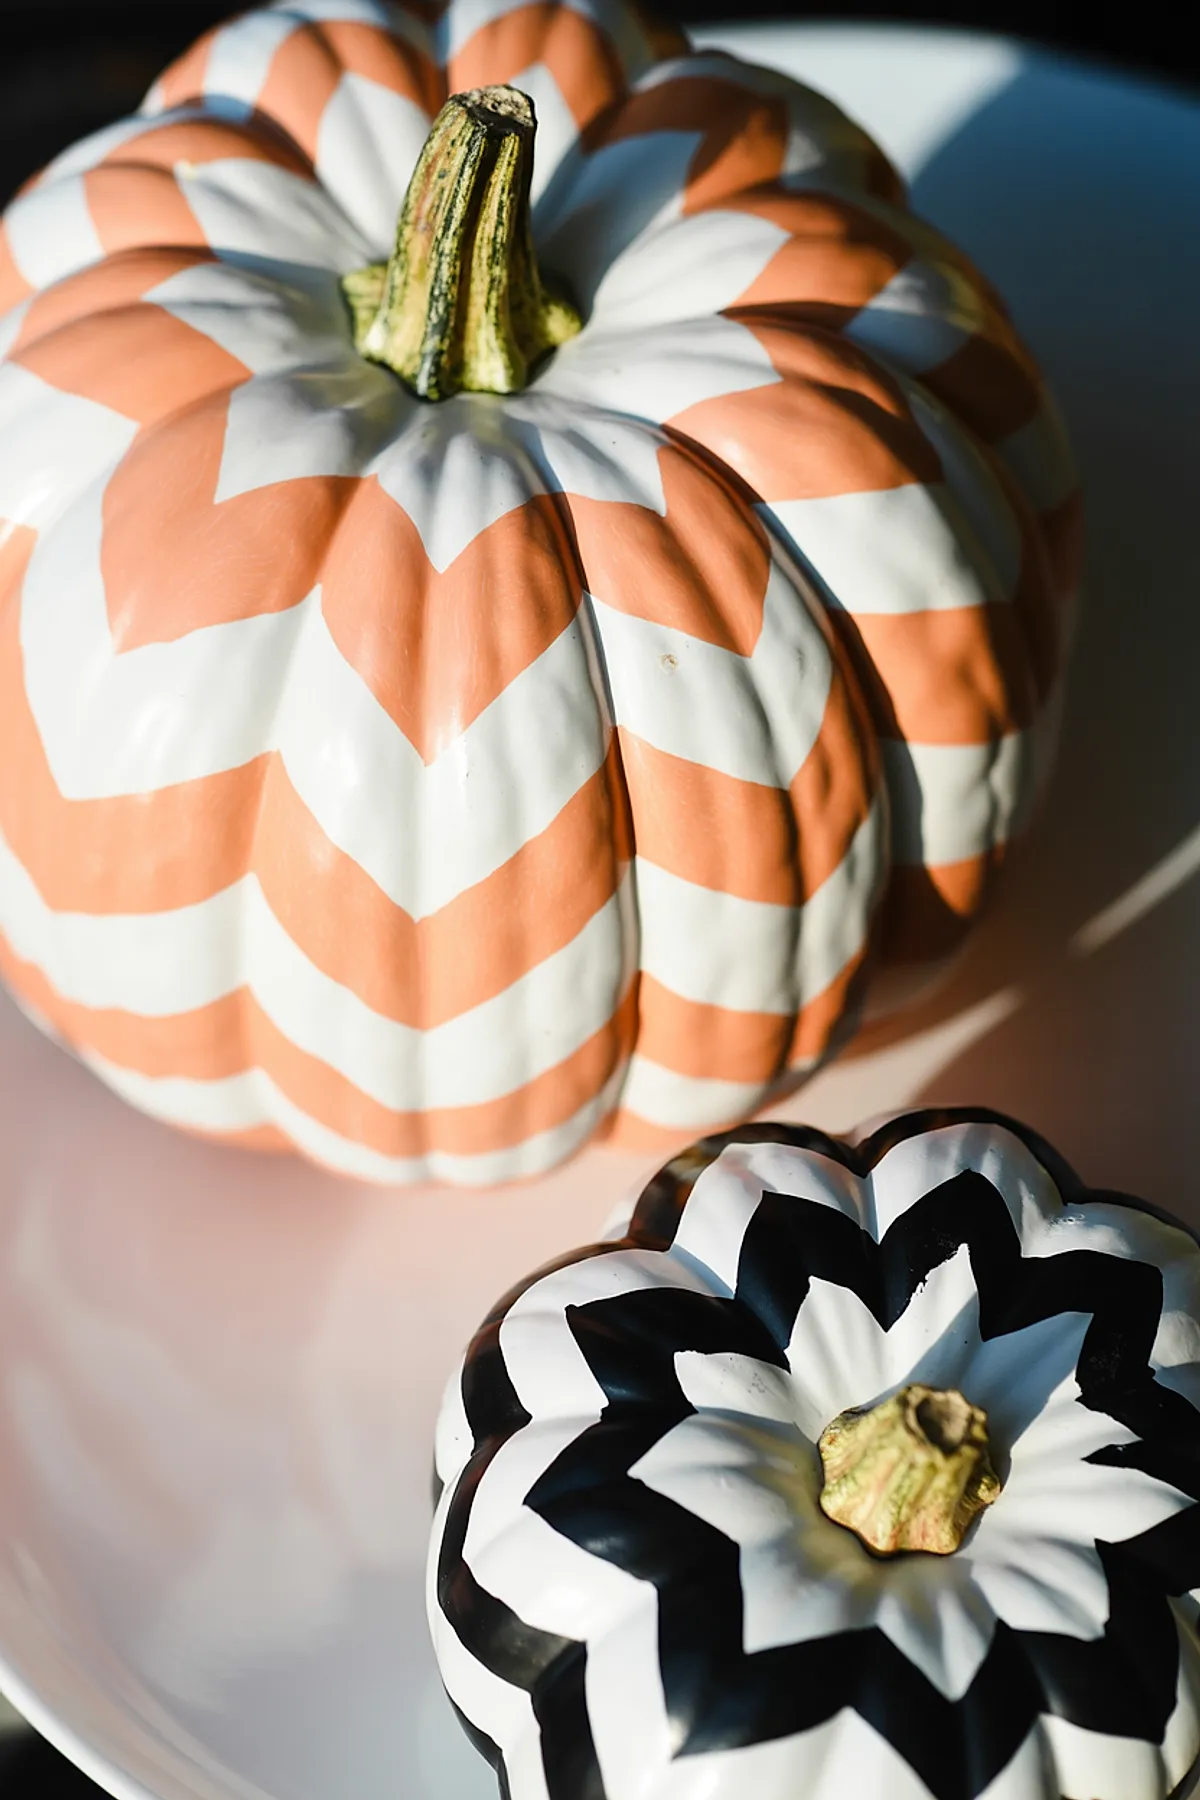
Peach, white, and black form the chevron pattern on this pumpkin. The simple pattern creates a graphic look.
White Forest Silhouette Pumpkin
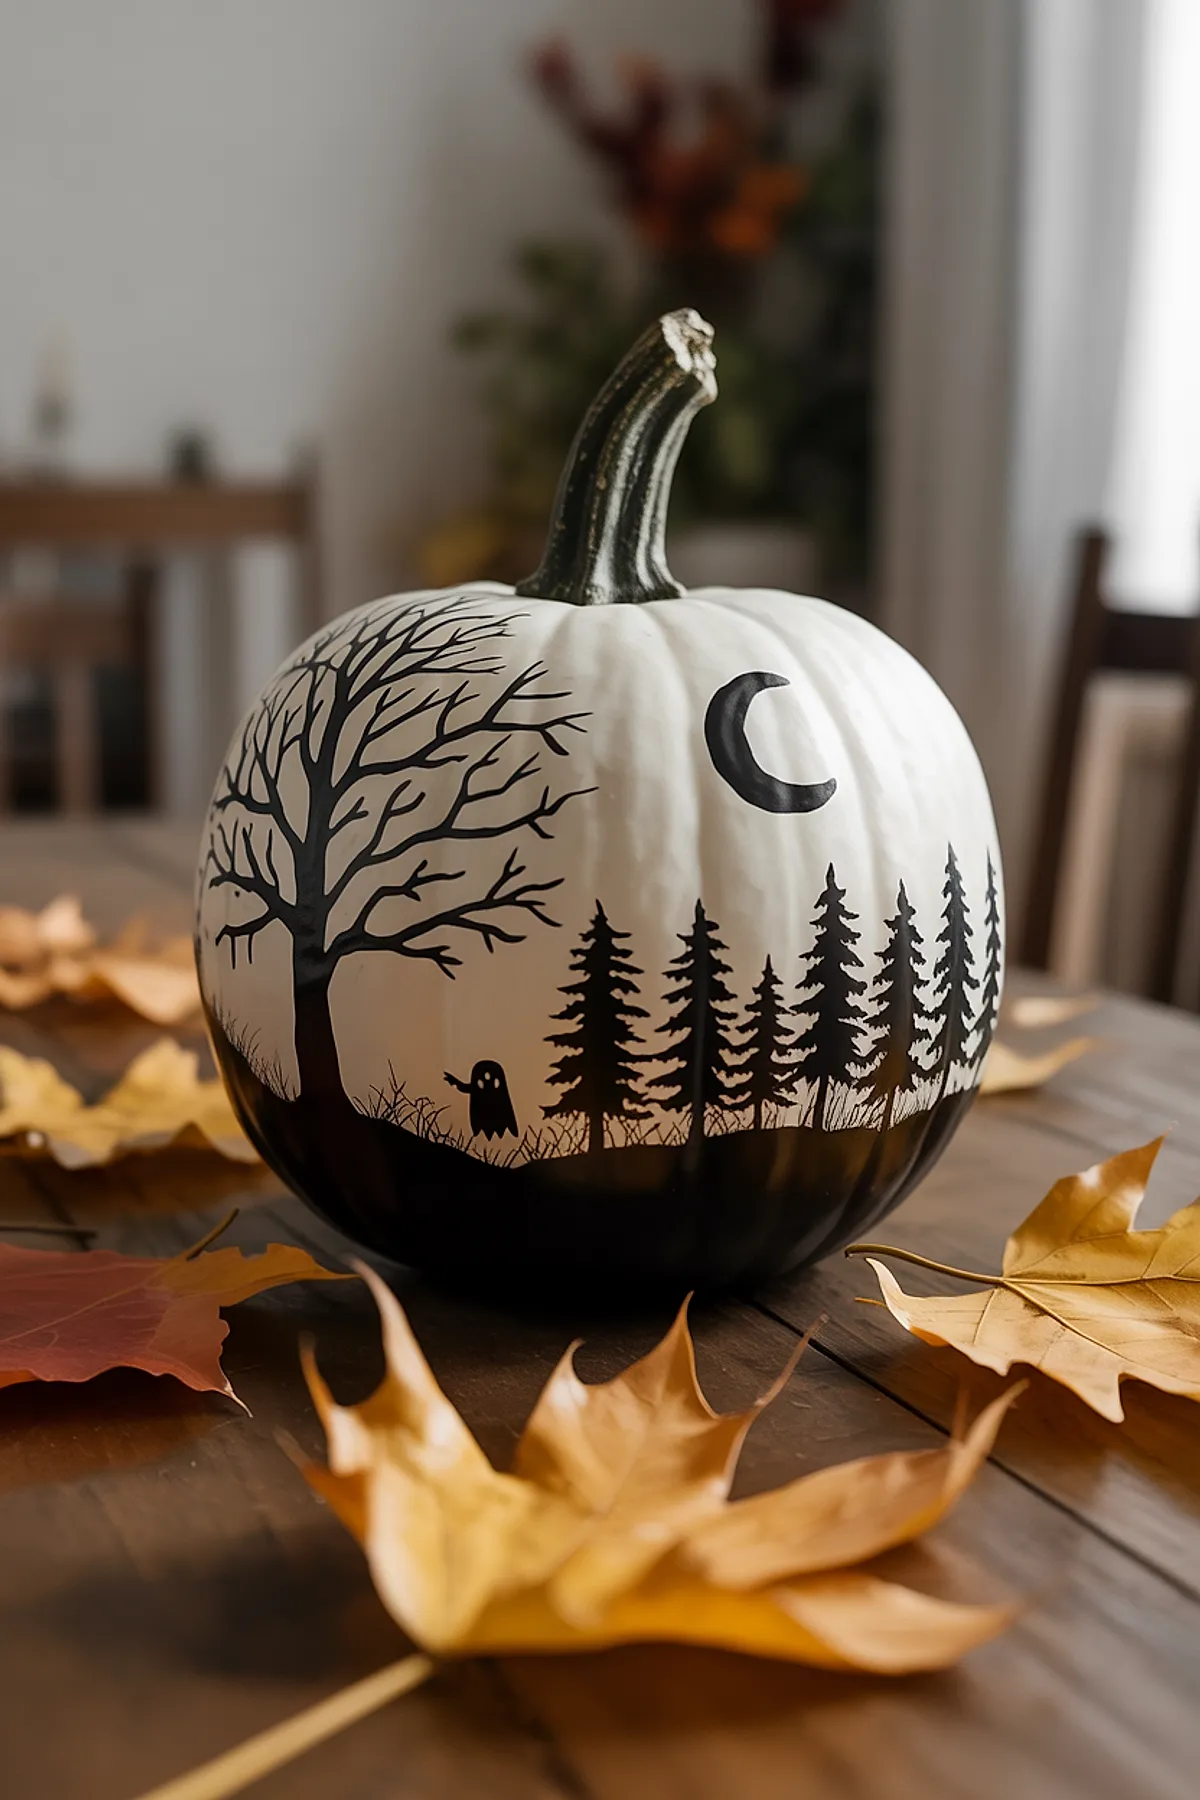
Tiny ghosts fit between the black pine trees wrapped around the white pumpkin. A crescent moon is added to the pumpkin, giving the design a mild spooky effect.
Pumpkin with a Finding Nemo Theme
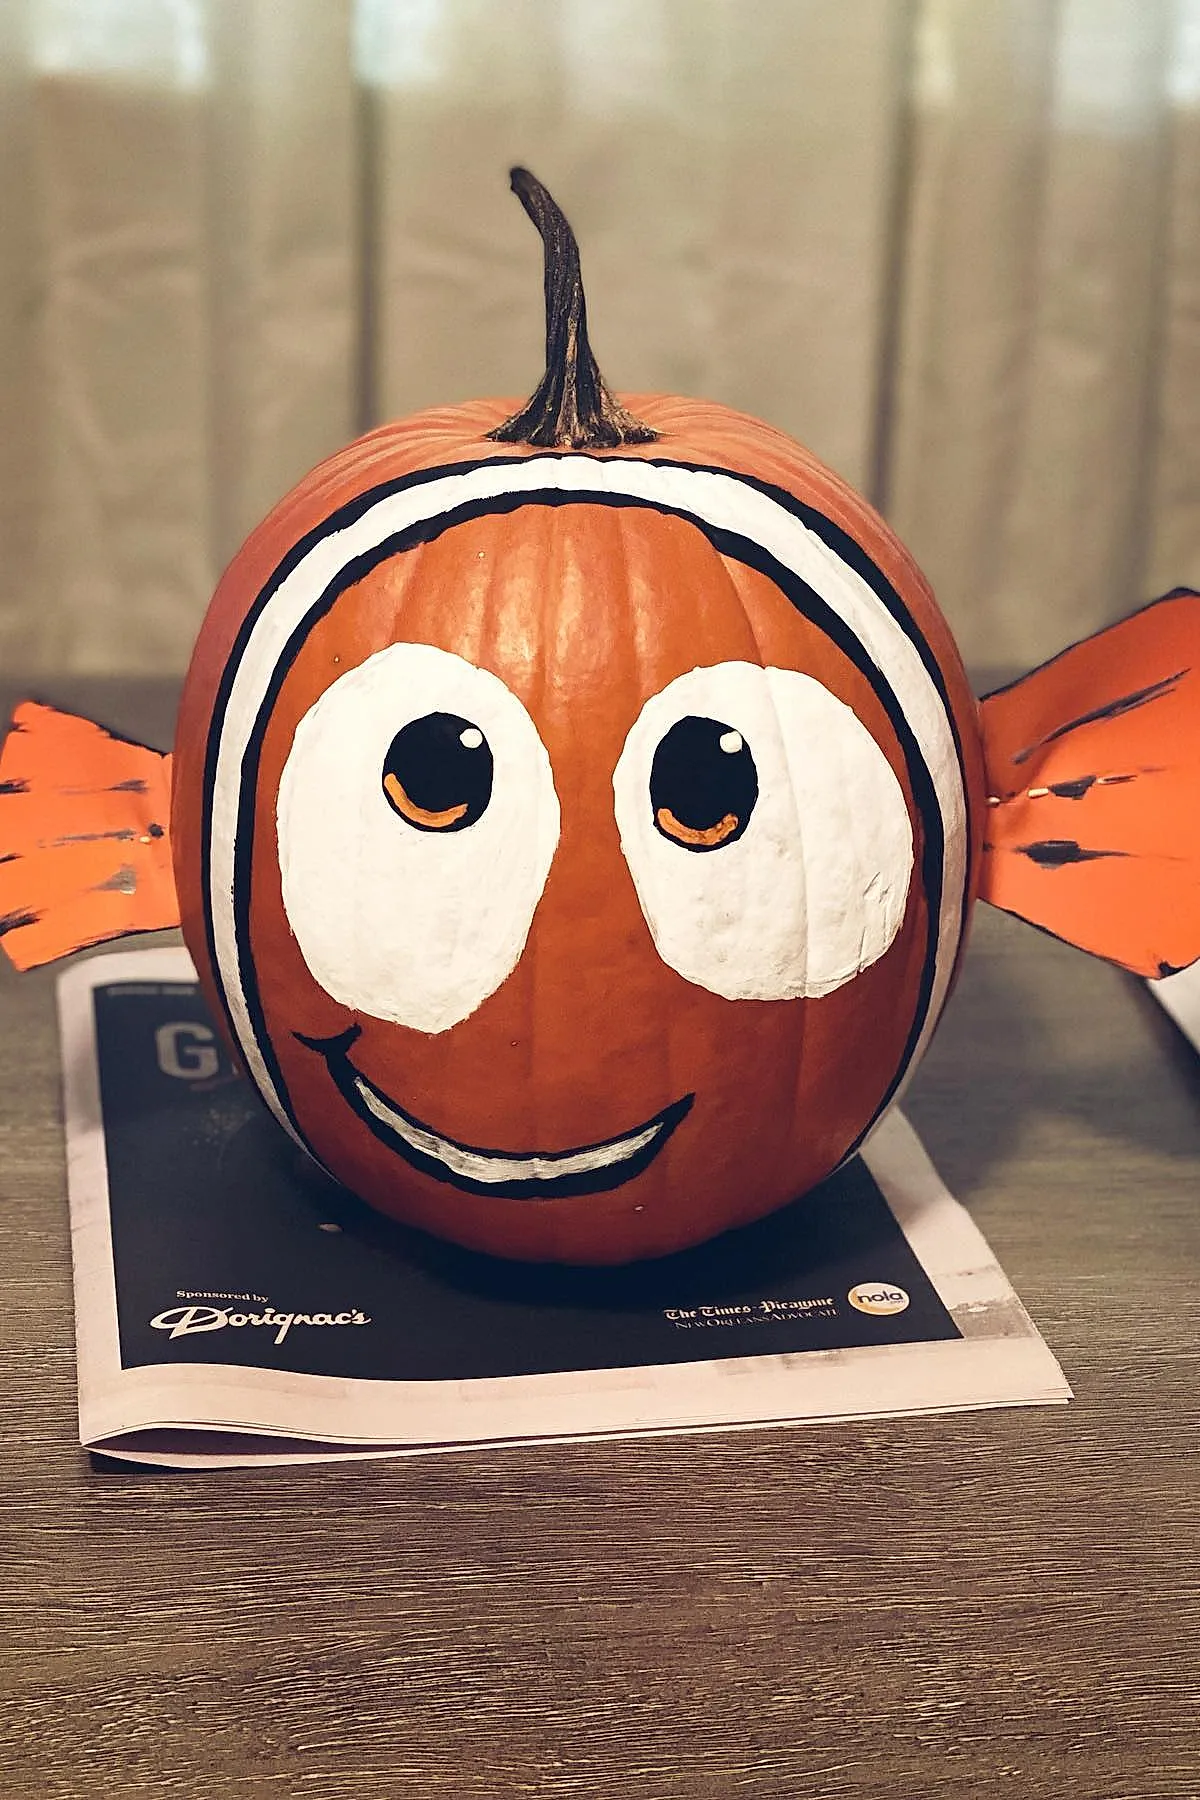
Paper fins glued to the sides give this undersea pumpkin a playful shape. Paint it orange and white, with wide eyes and a large smile, for a design that conveys a playful spirit.
Eyeball Painting on a Realistic Pumpkin
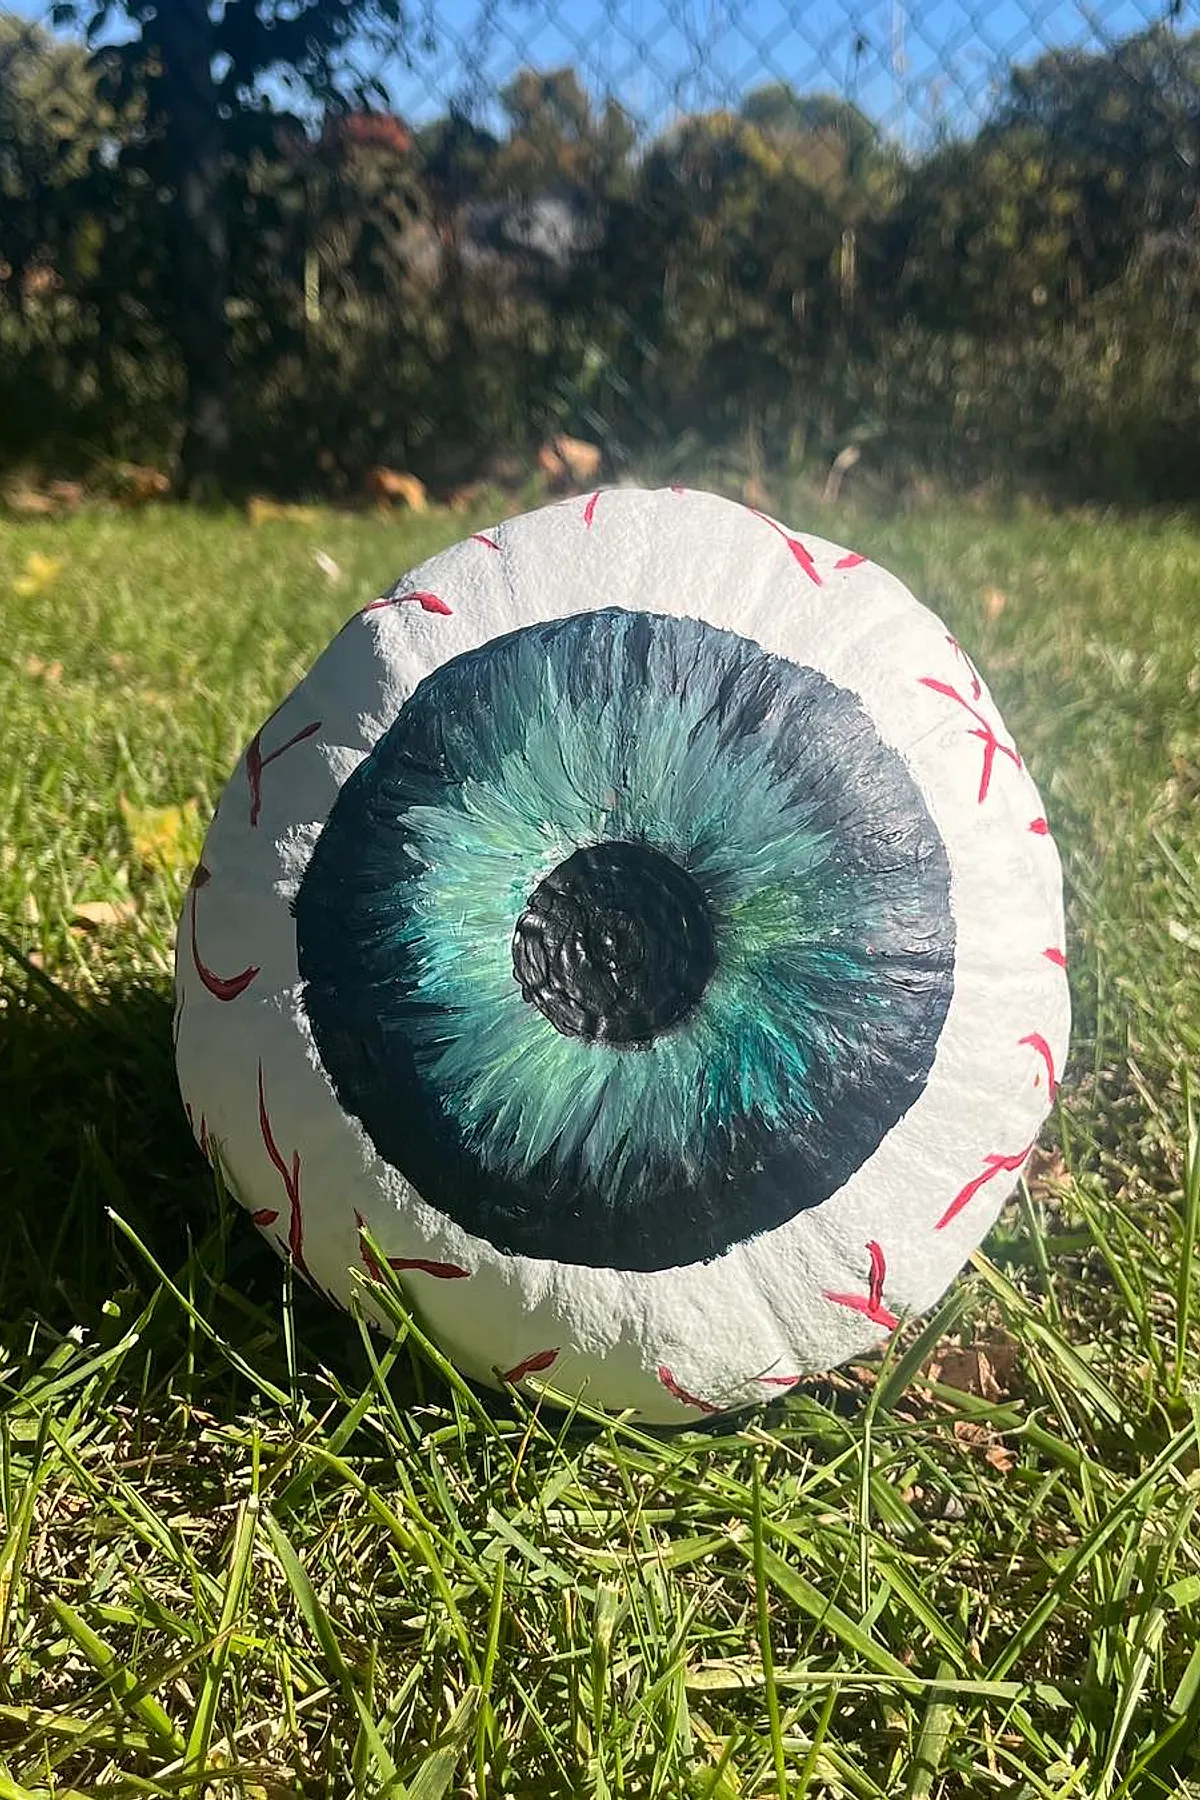
Paint the iris and thin red veins on the sideways pumpkin, whose bottom resembles an optic nerve. An optional coat of sealer can be applied with a clear brush and can add a slight shine.
Blue White and Black Buffalo Check Pumpkin
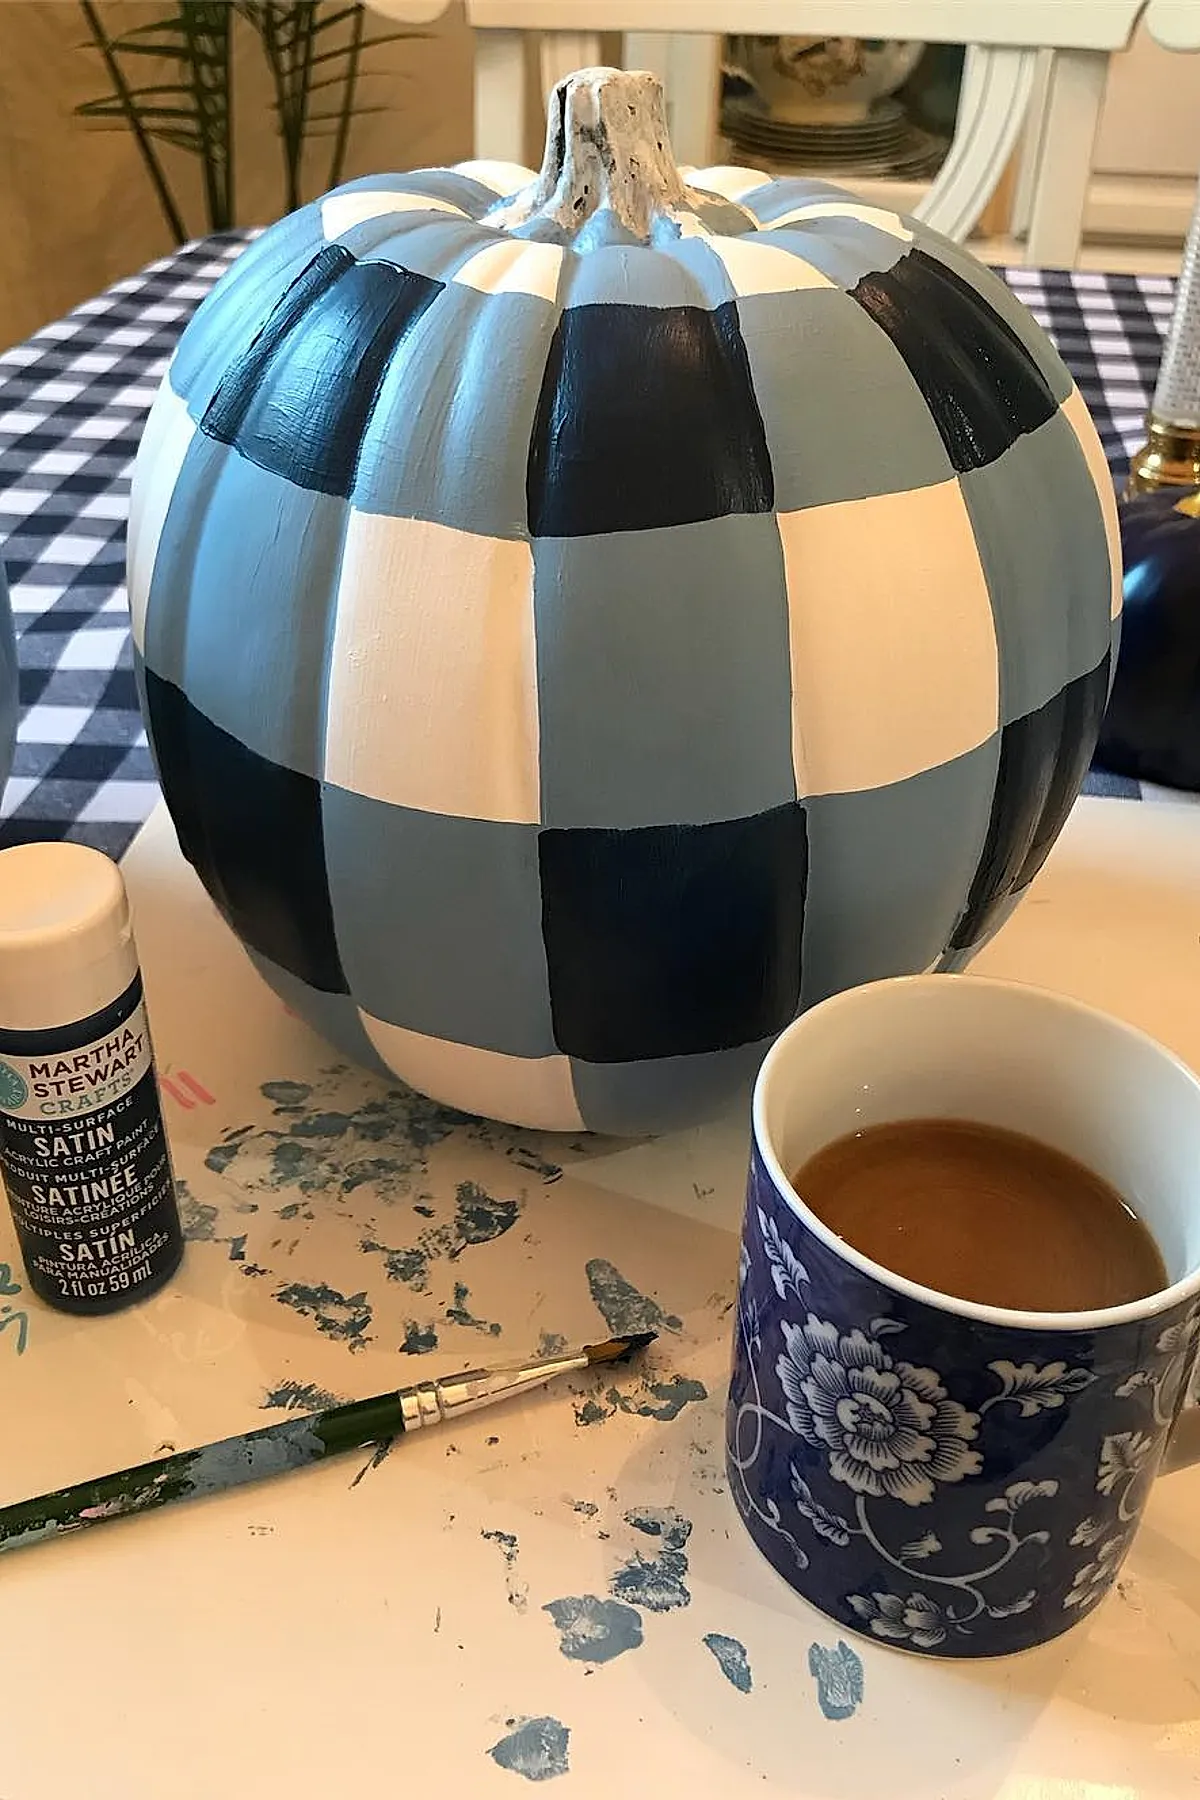
The plaid pumpkin evokes farmhouse style, while the pattern holds up well and works in any setting. For neat edges, use acrylic, marking a light grid before filling the grid boxes.
Mixed Media Decorated Pumpkins
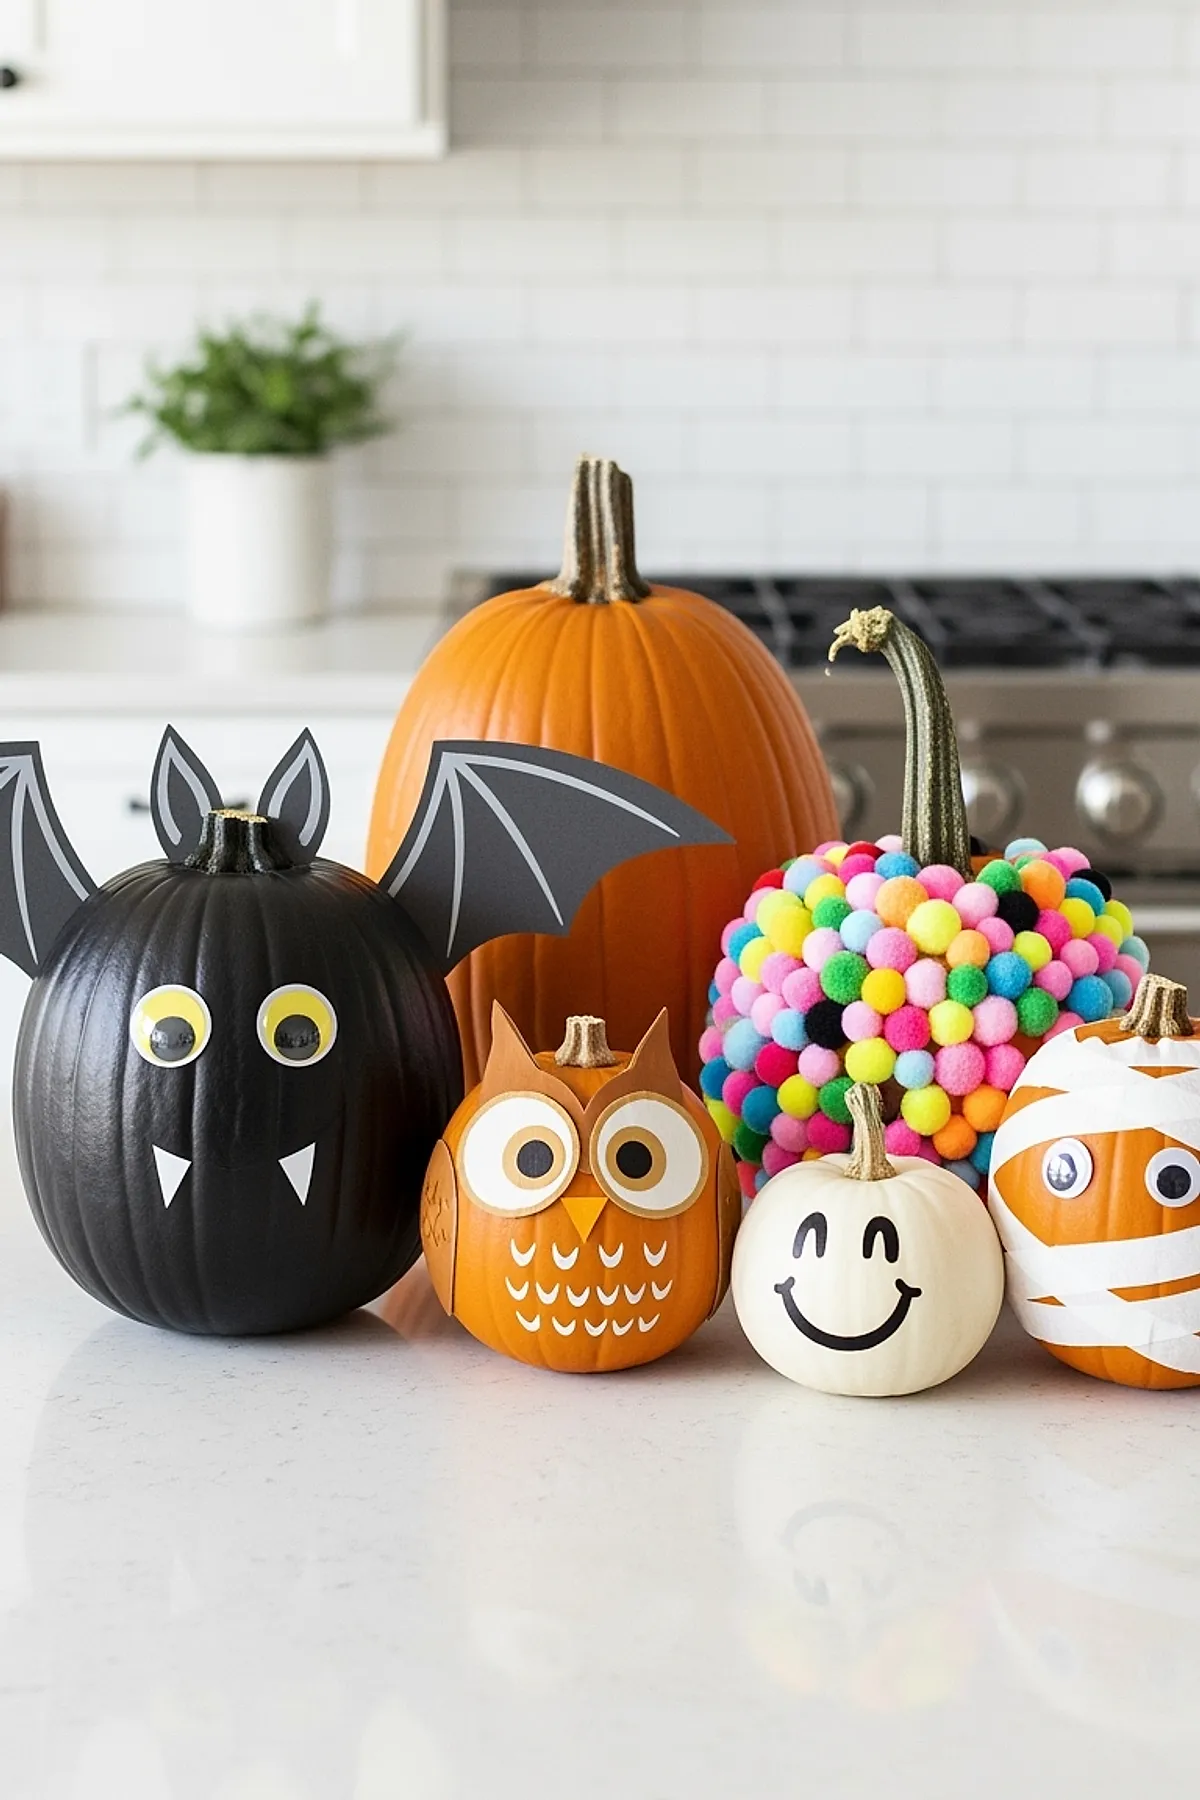
Mixed-media decorations can be easier than intricate painted designs. Use craft glue for most add-ons, such as paper bat wings, googly eyes, and a pom pom coat, while paint creates the face. These craft supplies create personality.
Whimsical Fungi on a Hand Painted Pumpkin
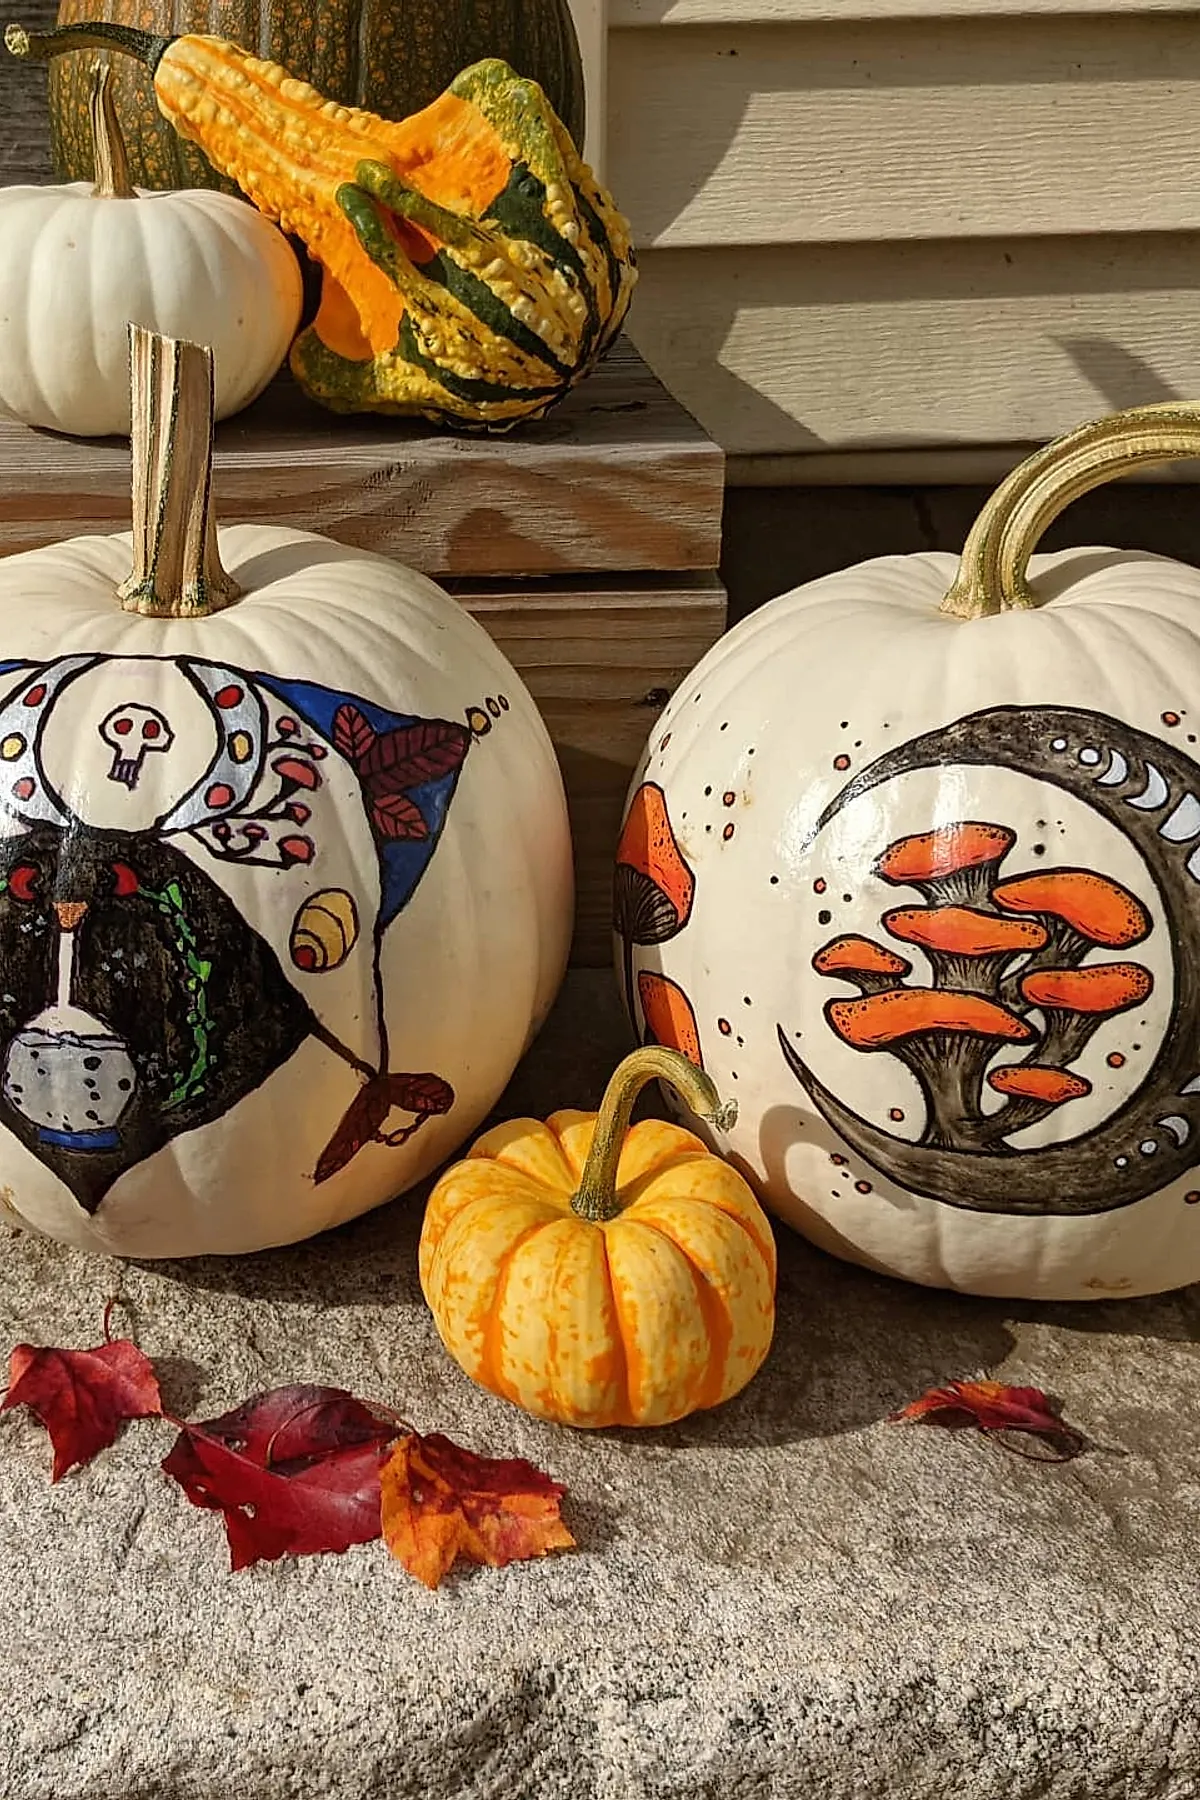
Set the painted pumpkins on a stone step with real gourds for an arrangement that combines natural and handmade details. The white pumpkins serve as blank paper for bright orange mushrooms and tiny moons, which give the display a playful look. Map the mushroom caps with light pencil, then paint them.
Black Silhouette Pumpkin With Bright Cat Eyes
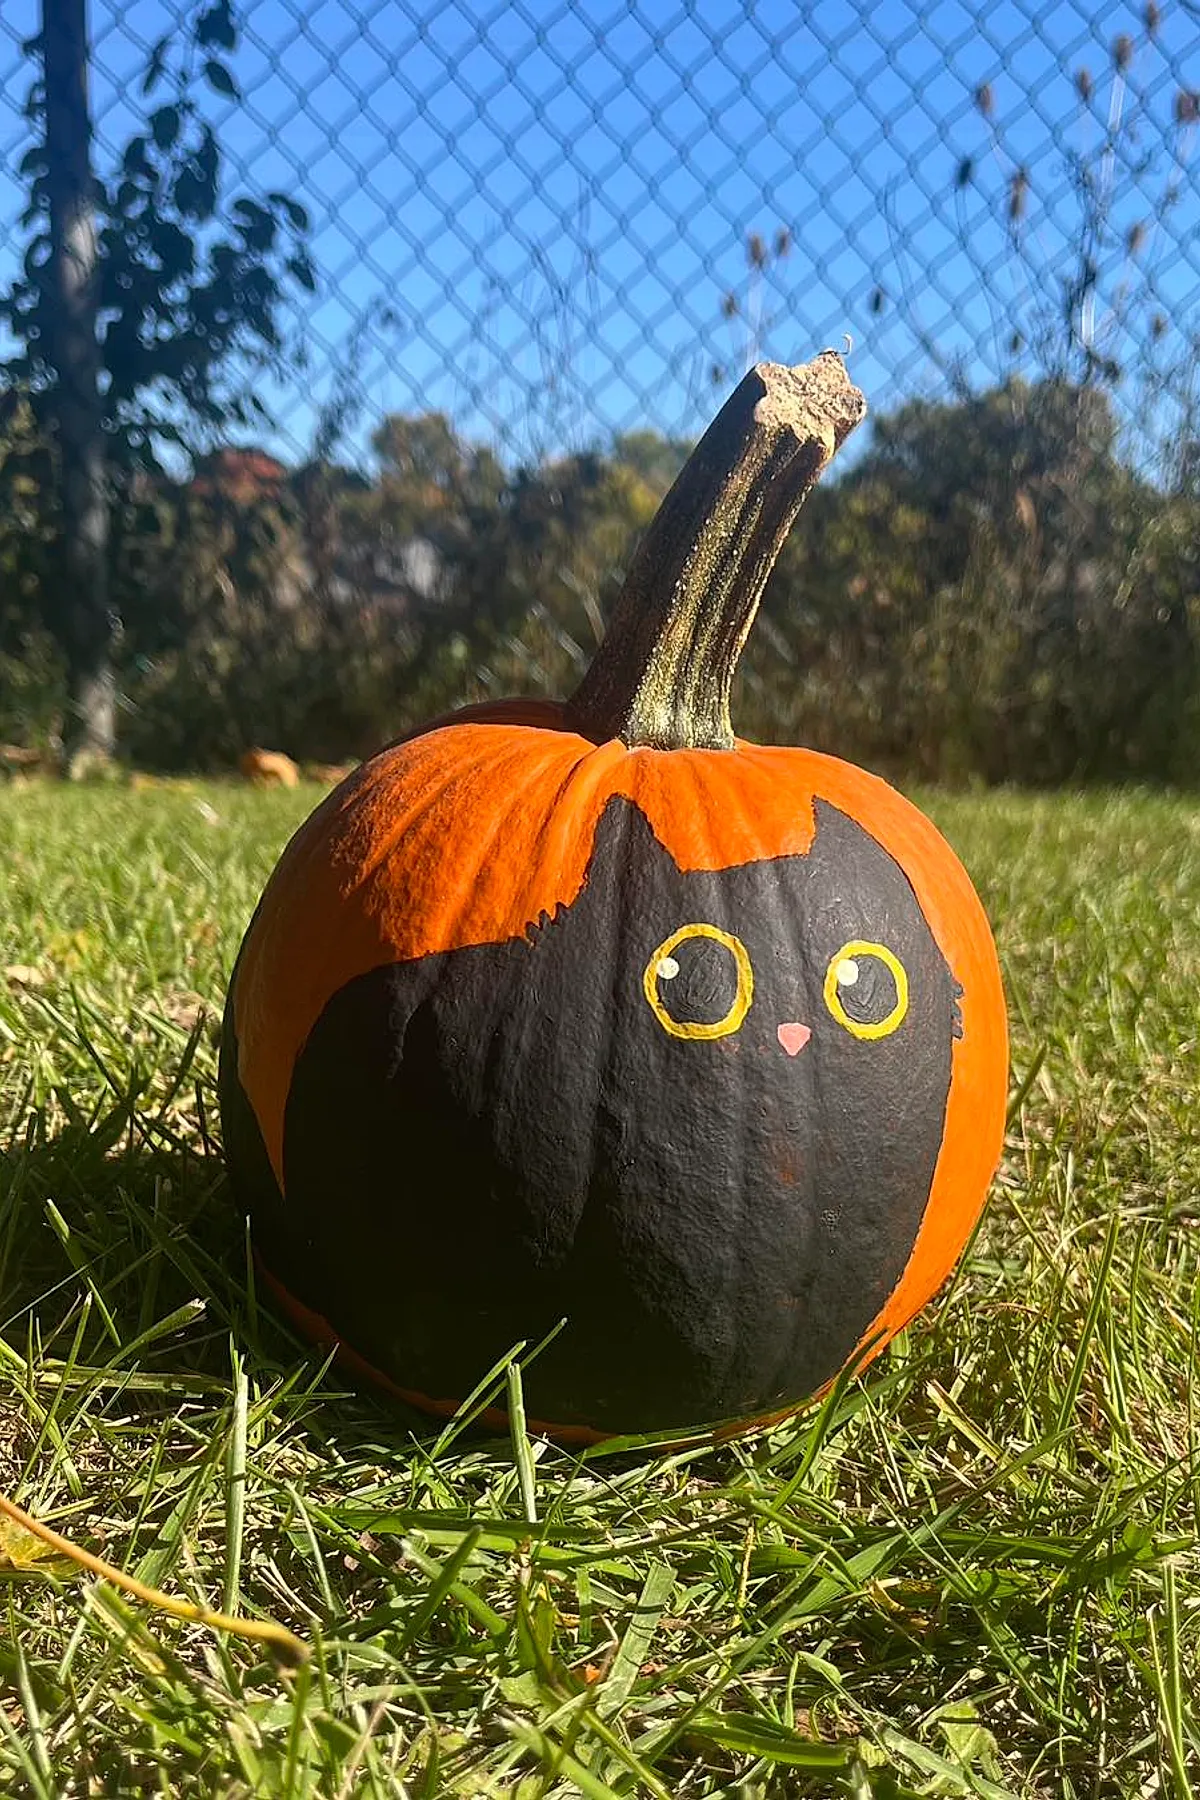
A leaf pile is the setting for this pumpkin, with its bright cat eyes showing from among the leaves. Use acrylic paint if a deep black is desired. The pumpkin is readable from the sidewalk, has long durability, produces no mess, and requires no carving.
Soft Blue Ghost Pumpkin
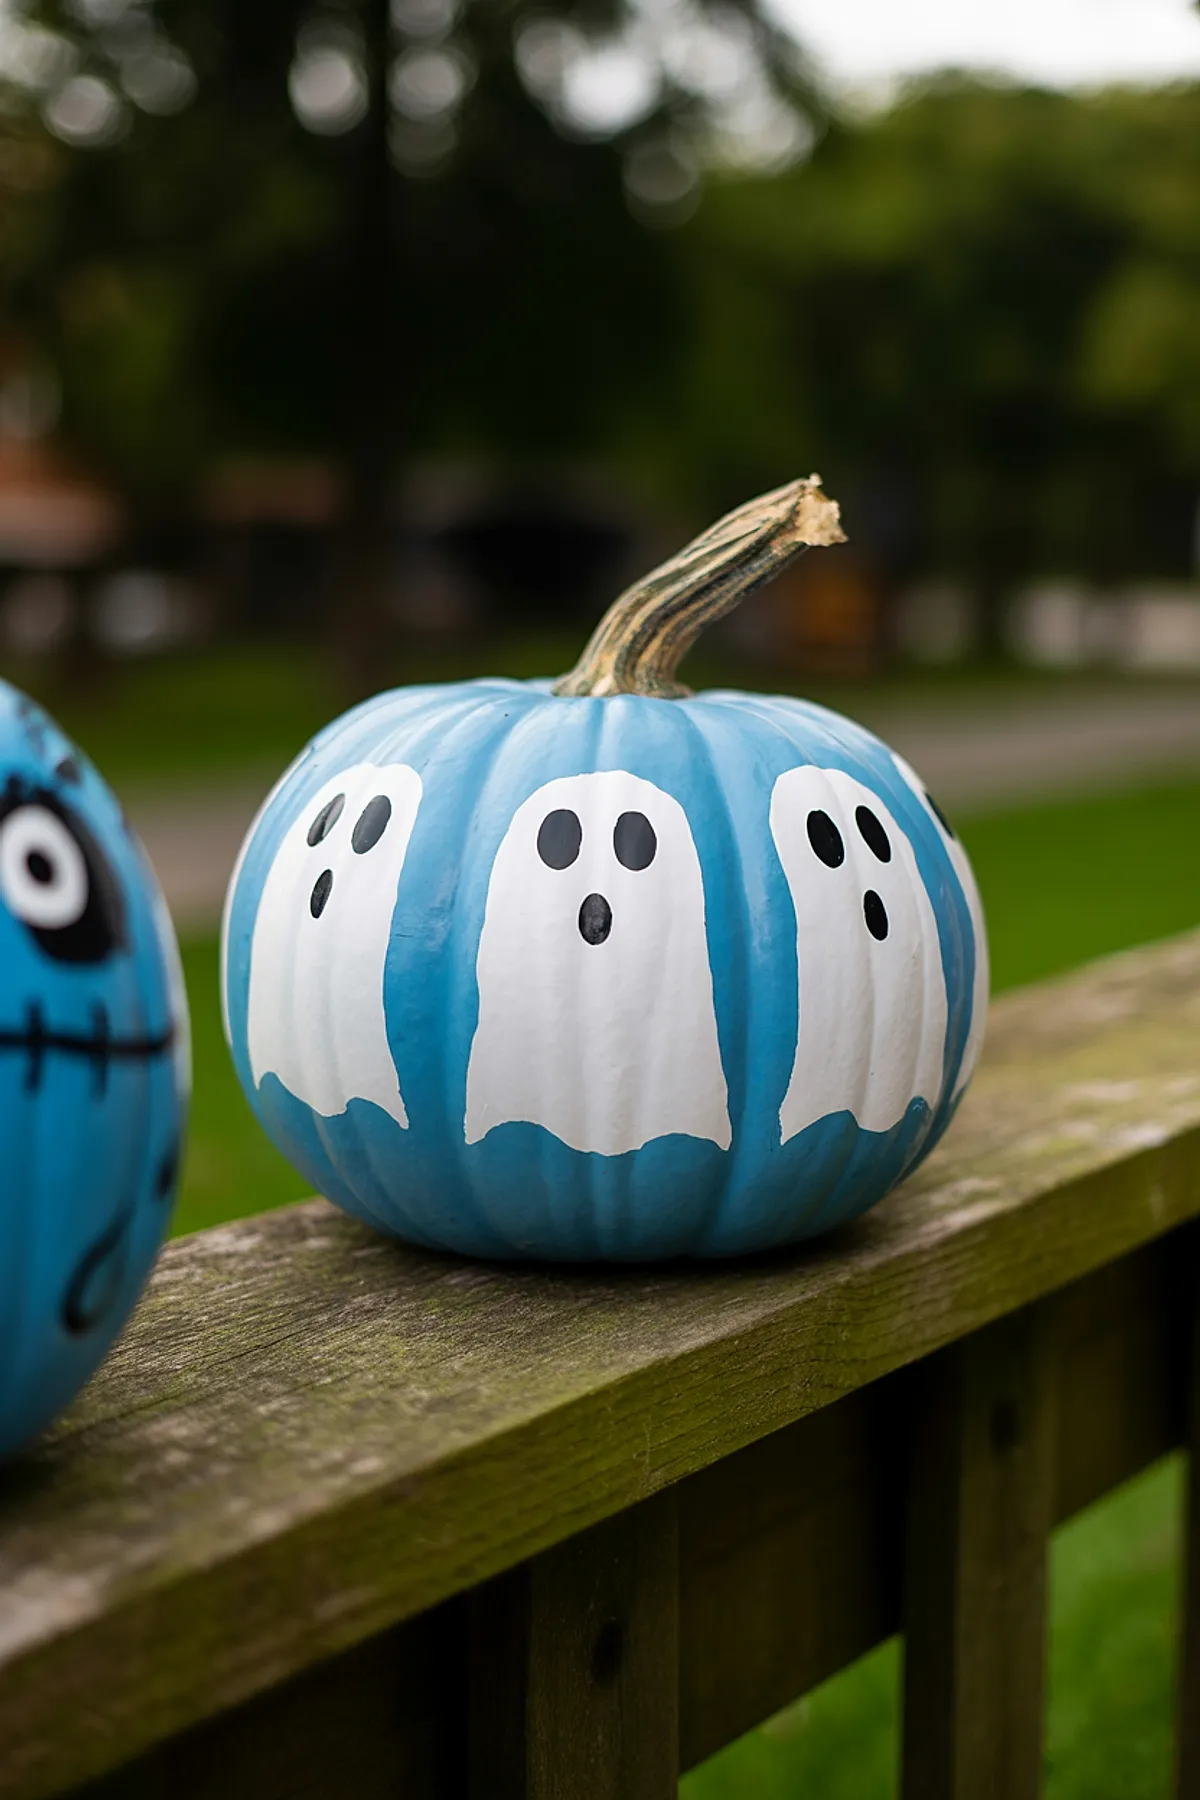
Keep the ghost shapes simple, giving each face two dot eyes and a curved mouth, then repeat the ghost motif around the pumpkin.
Day of the Dead Pumpkin with Sugar Skull Design
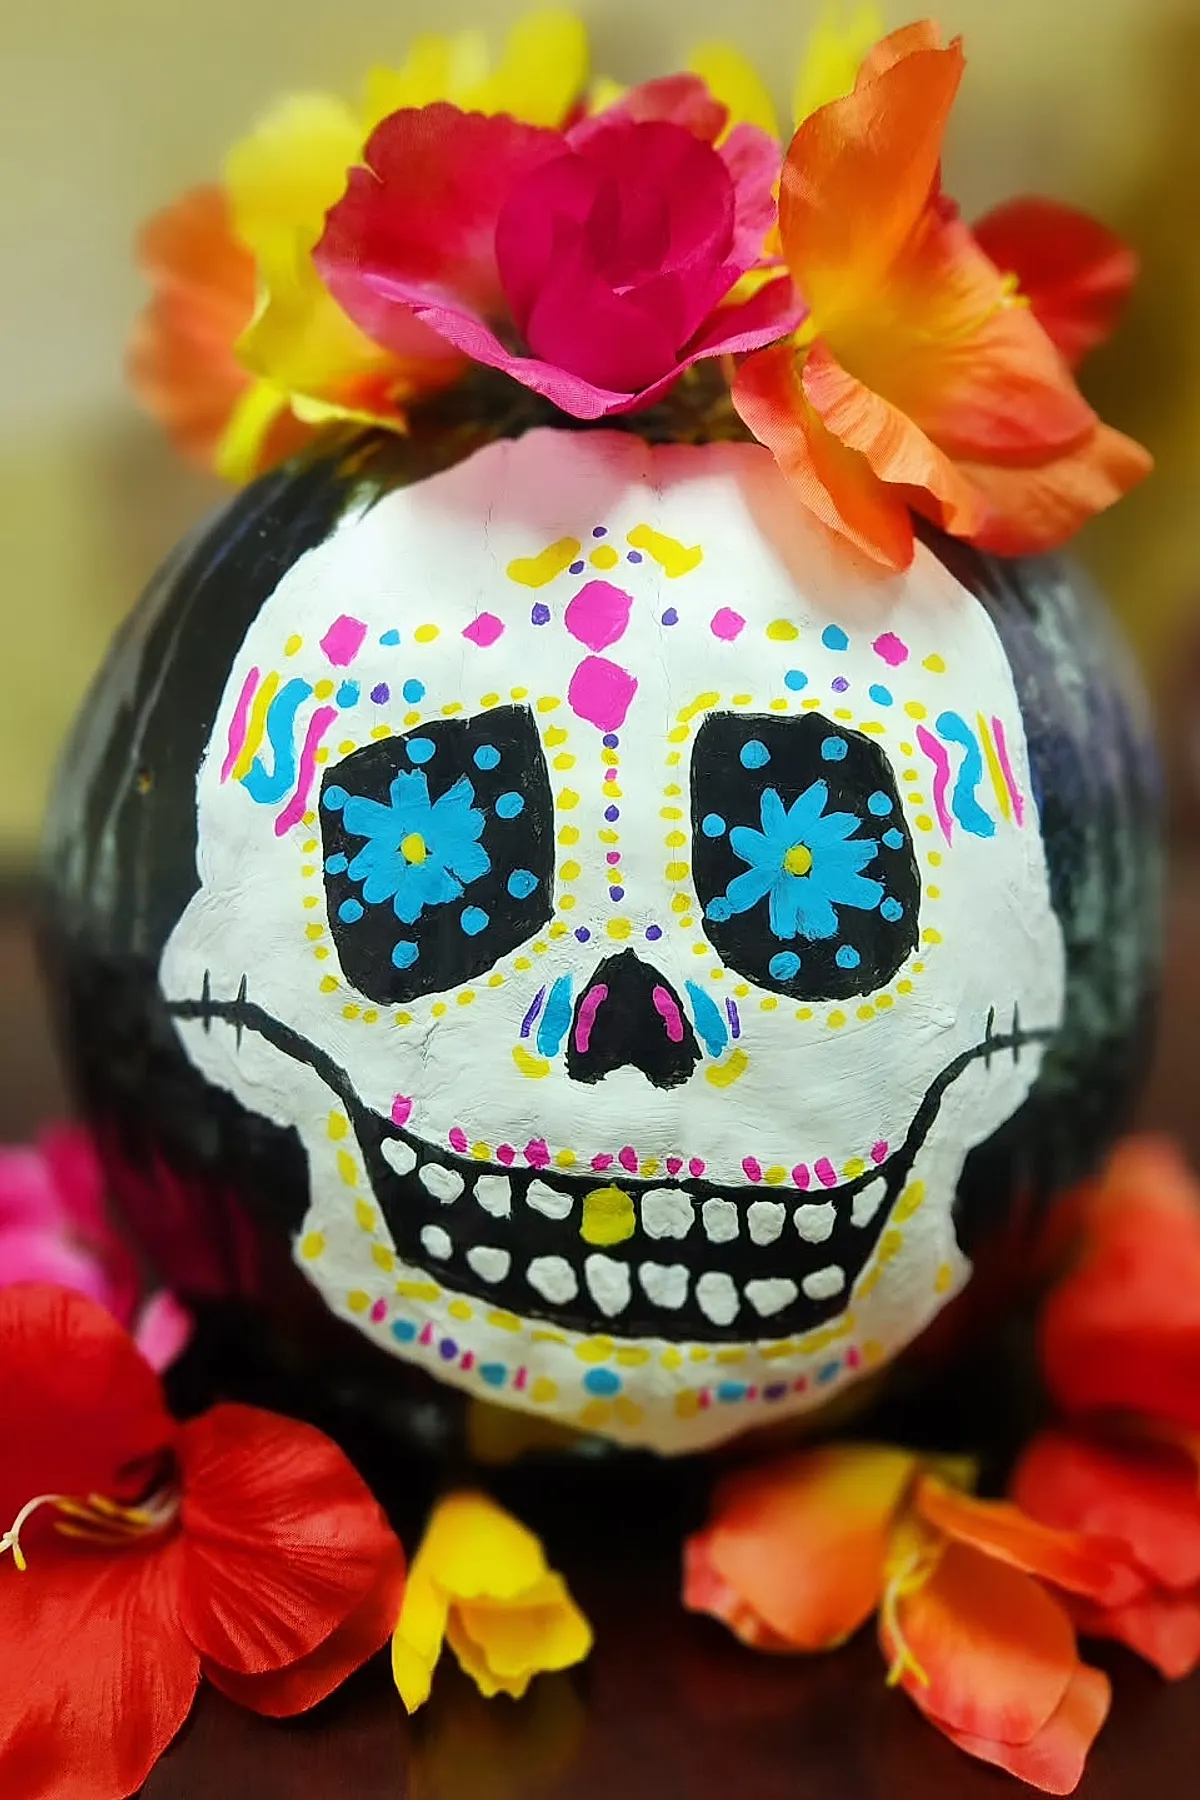
Bright flourishes and eyes stand out on this round pumpkin, which is painted with sugar skull details and topped with silk flowers. It can sit on the front step or on a party table.
Expressionist Pumpkin Faces with Drip Paint
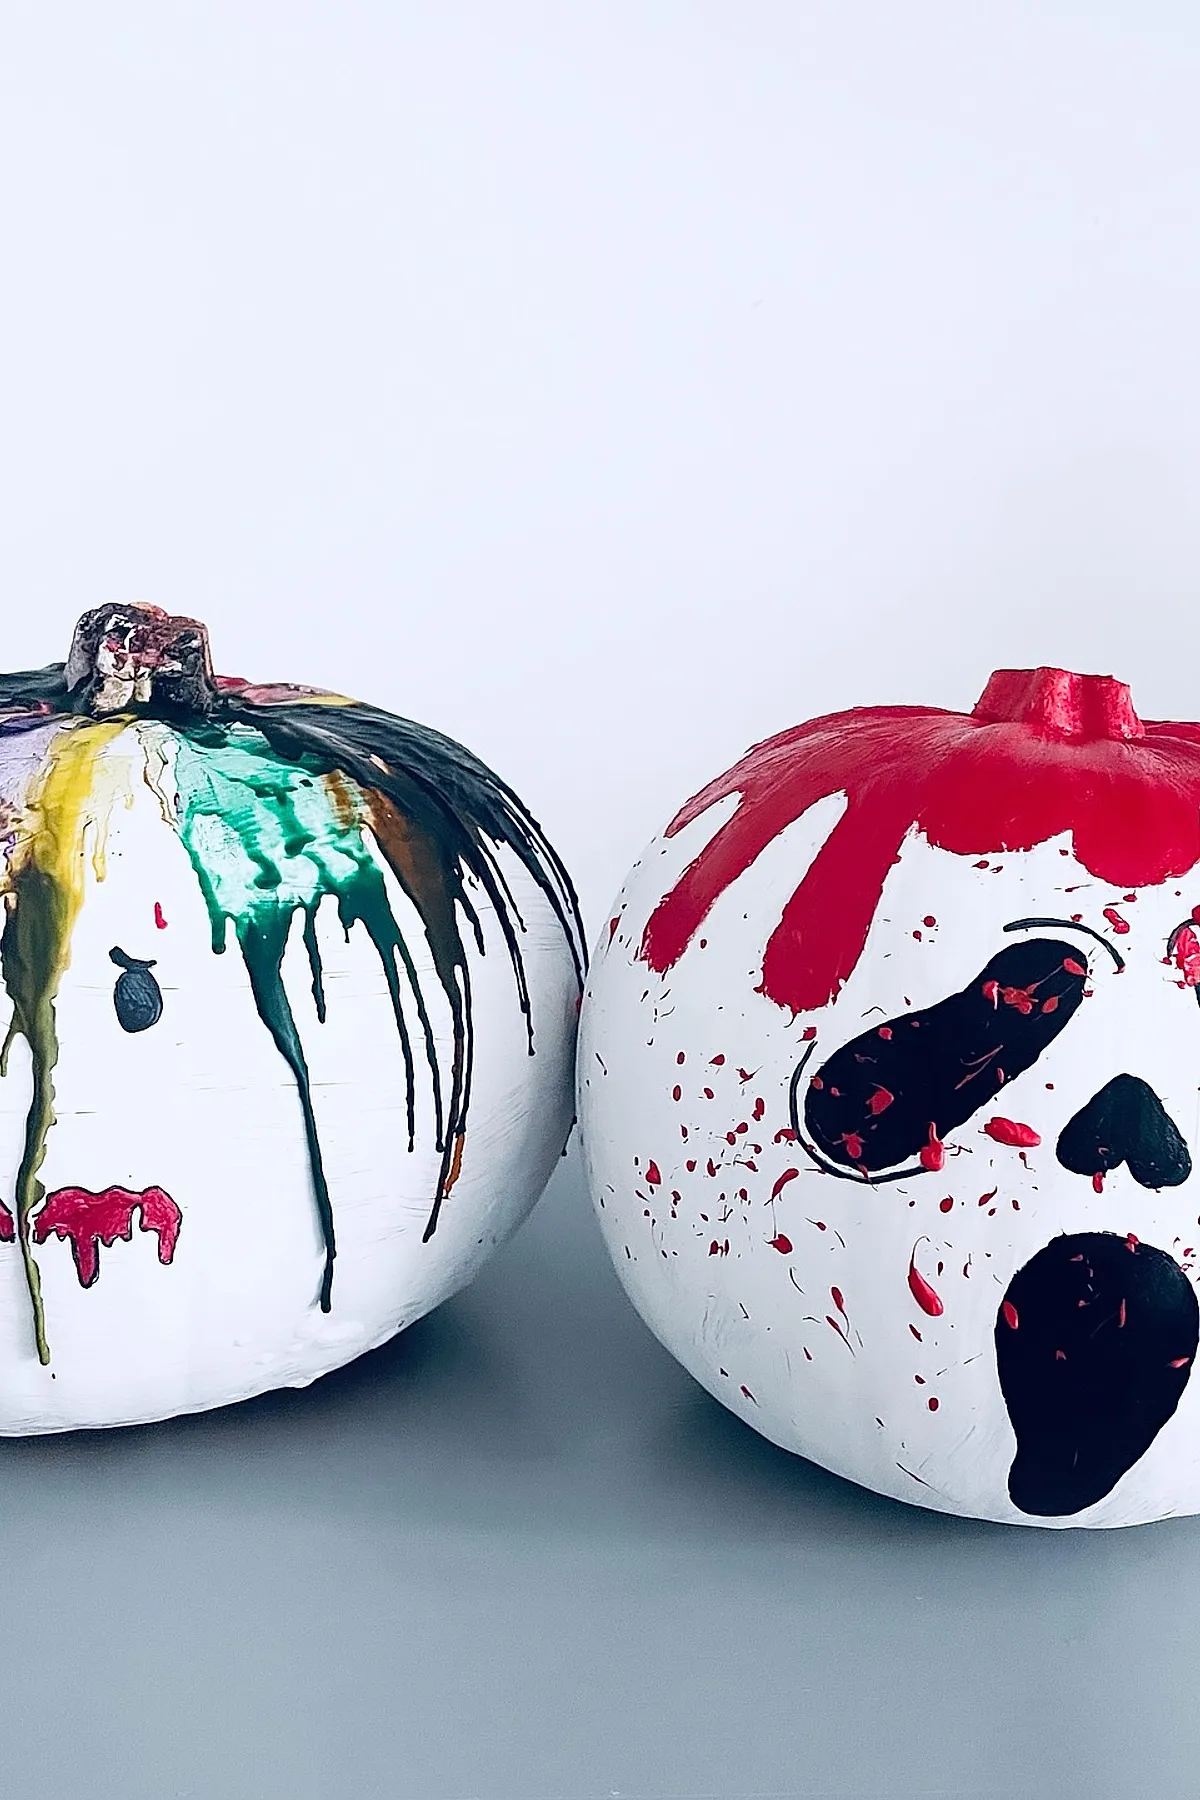
Use a white pumpkin as the base, then pour and drizzle paint over it before adding a quick face. Washable paint makes this a low-stress option for children.
Bright Blue Ghost Pumpkin
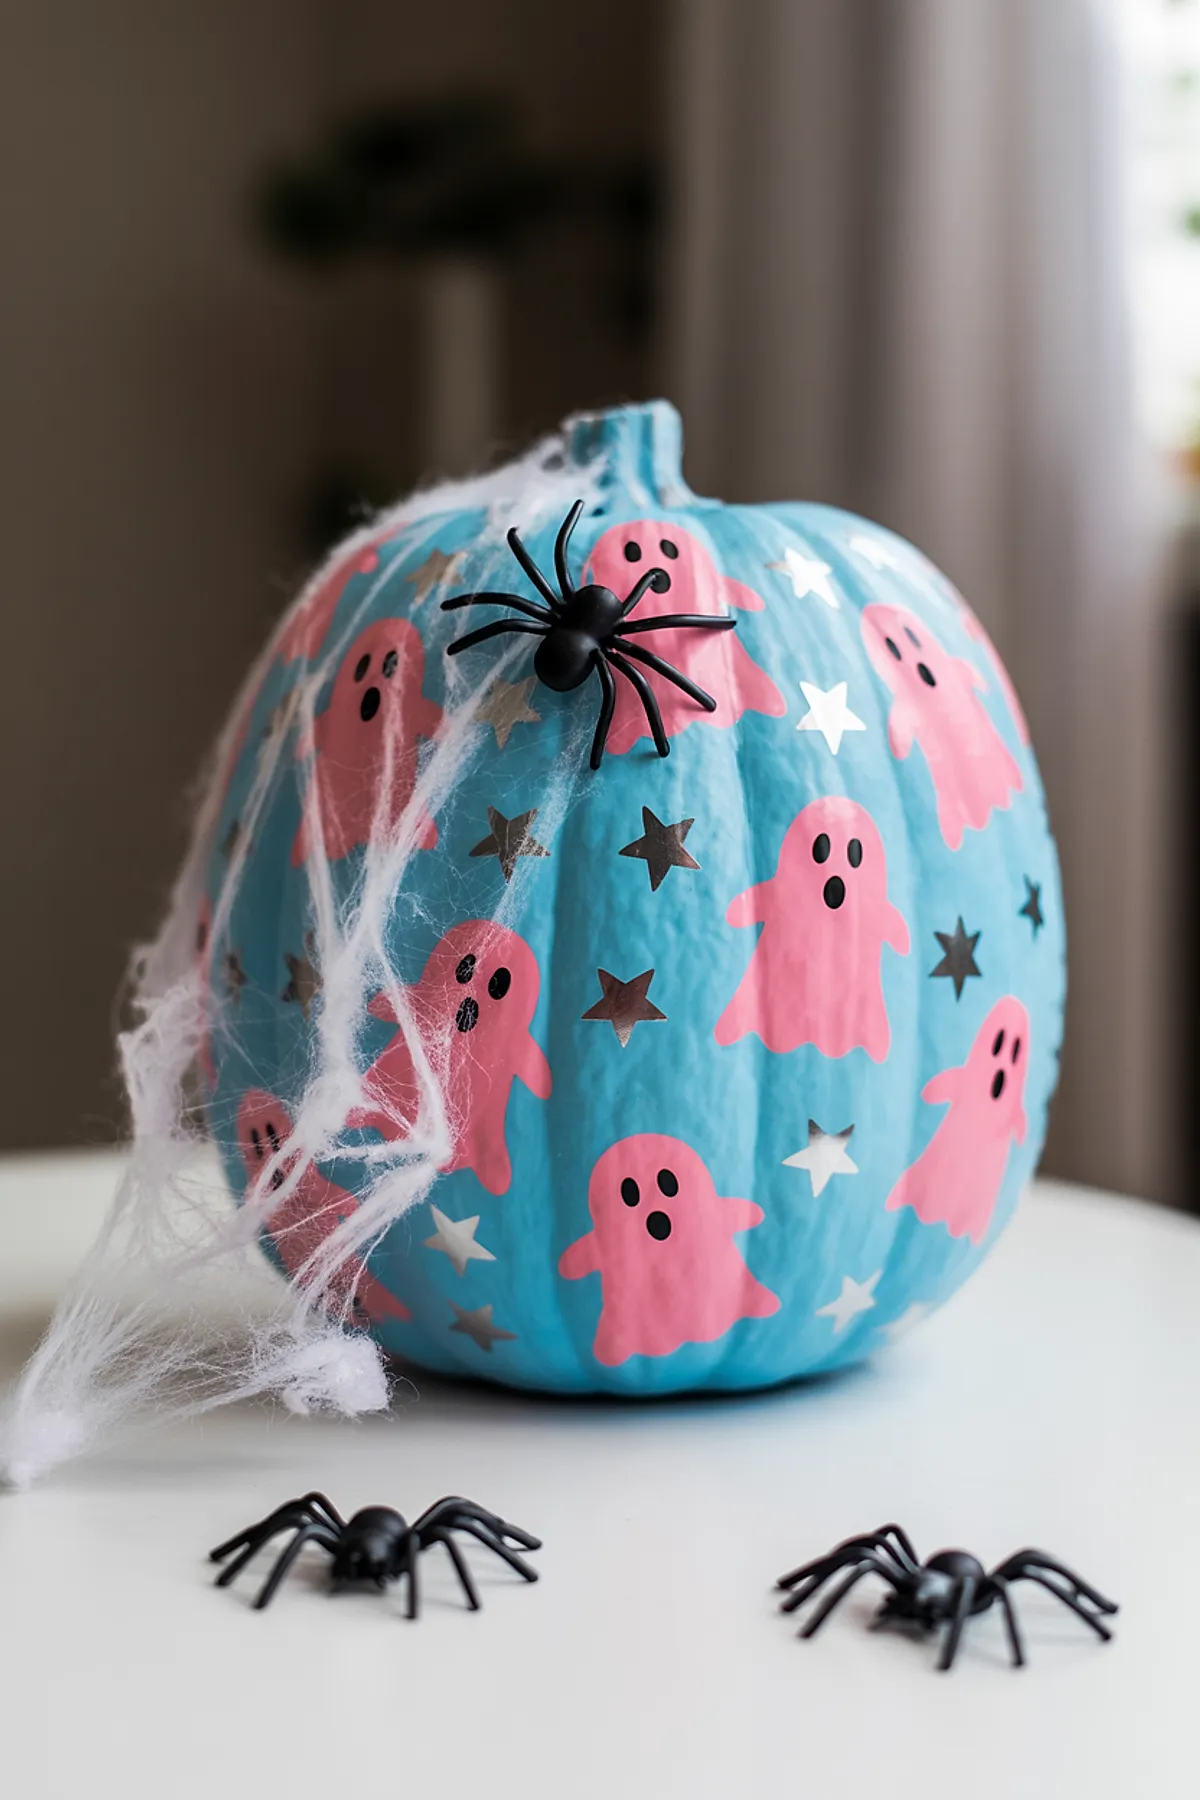
Draped spider webs cover the pumpkin, which uses nontraditional Halloween colors and combines sweet and eerie styles. Pink ghosts sit on the bright blue surface, with silver star accents placed on the ghosts.
Farm Animal Pumpkin Painting
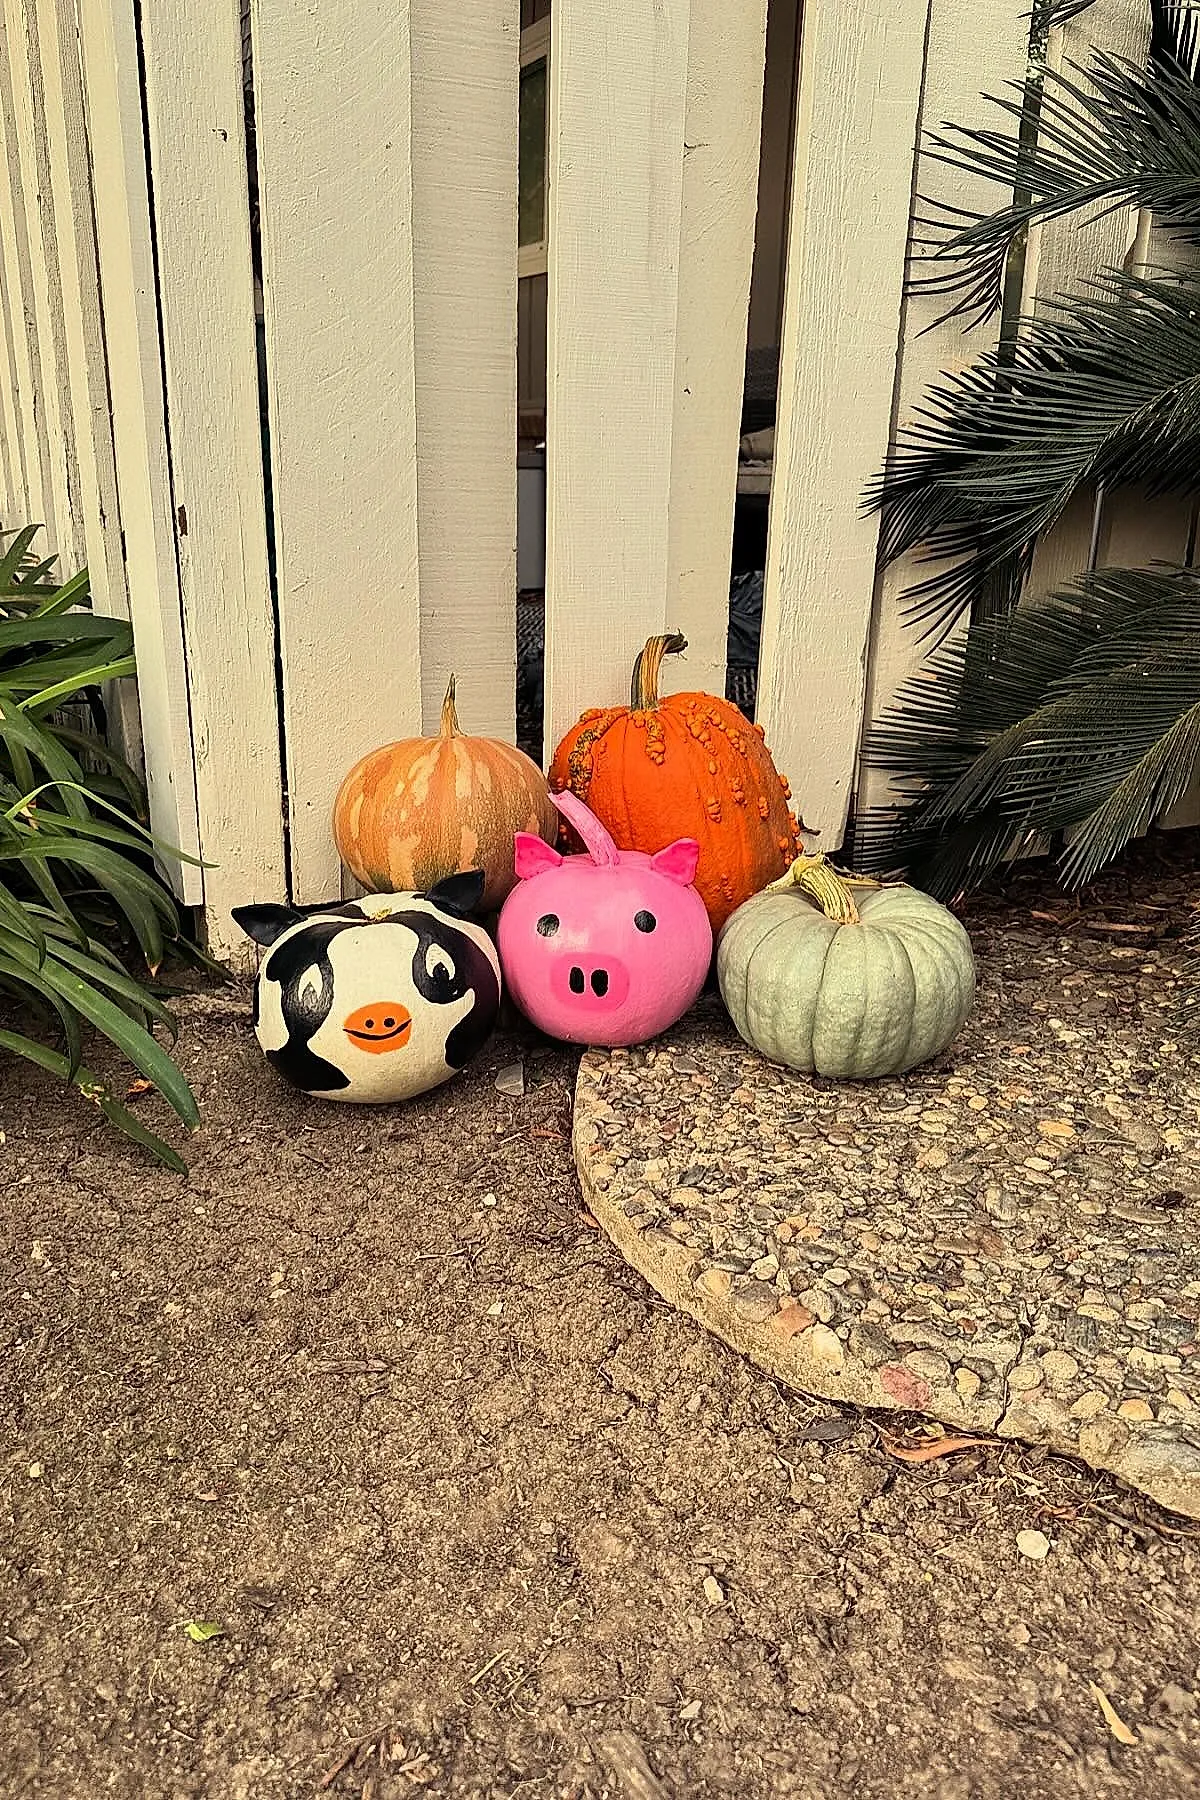
A plain gourd is set with a cow pumpkin and a pig pumpkin with pink cheeks. The cow pumpkin has spots, while simple cardstock ears are attached with glue. The two decorated pumpkins are paired together.
Playful Painted Pumpkin Character
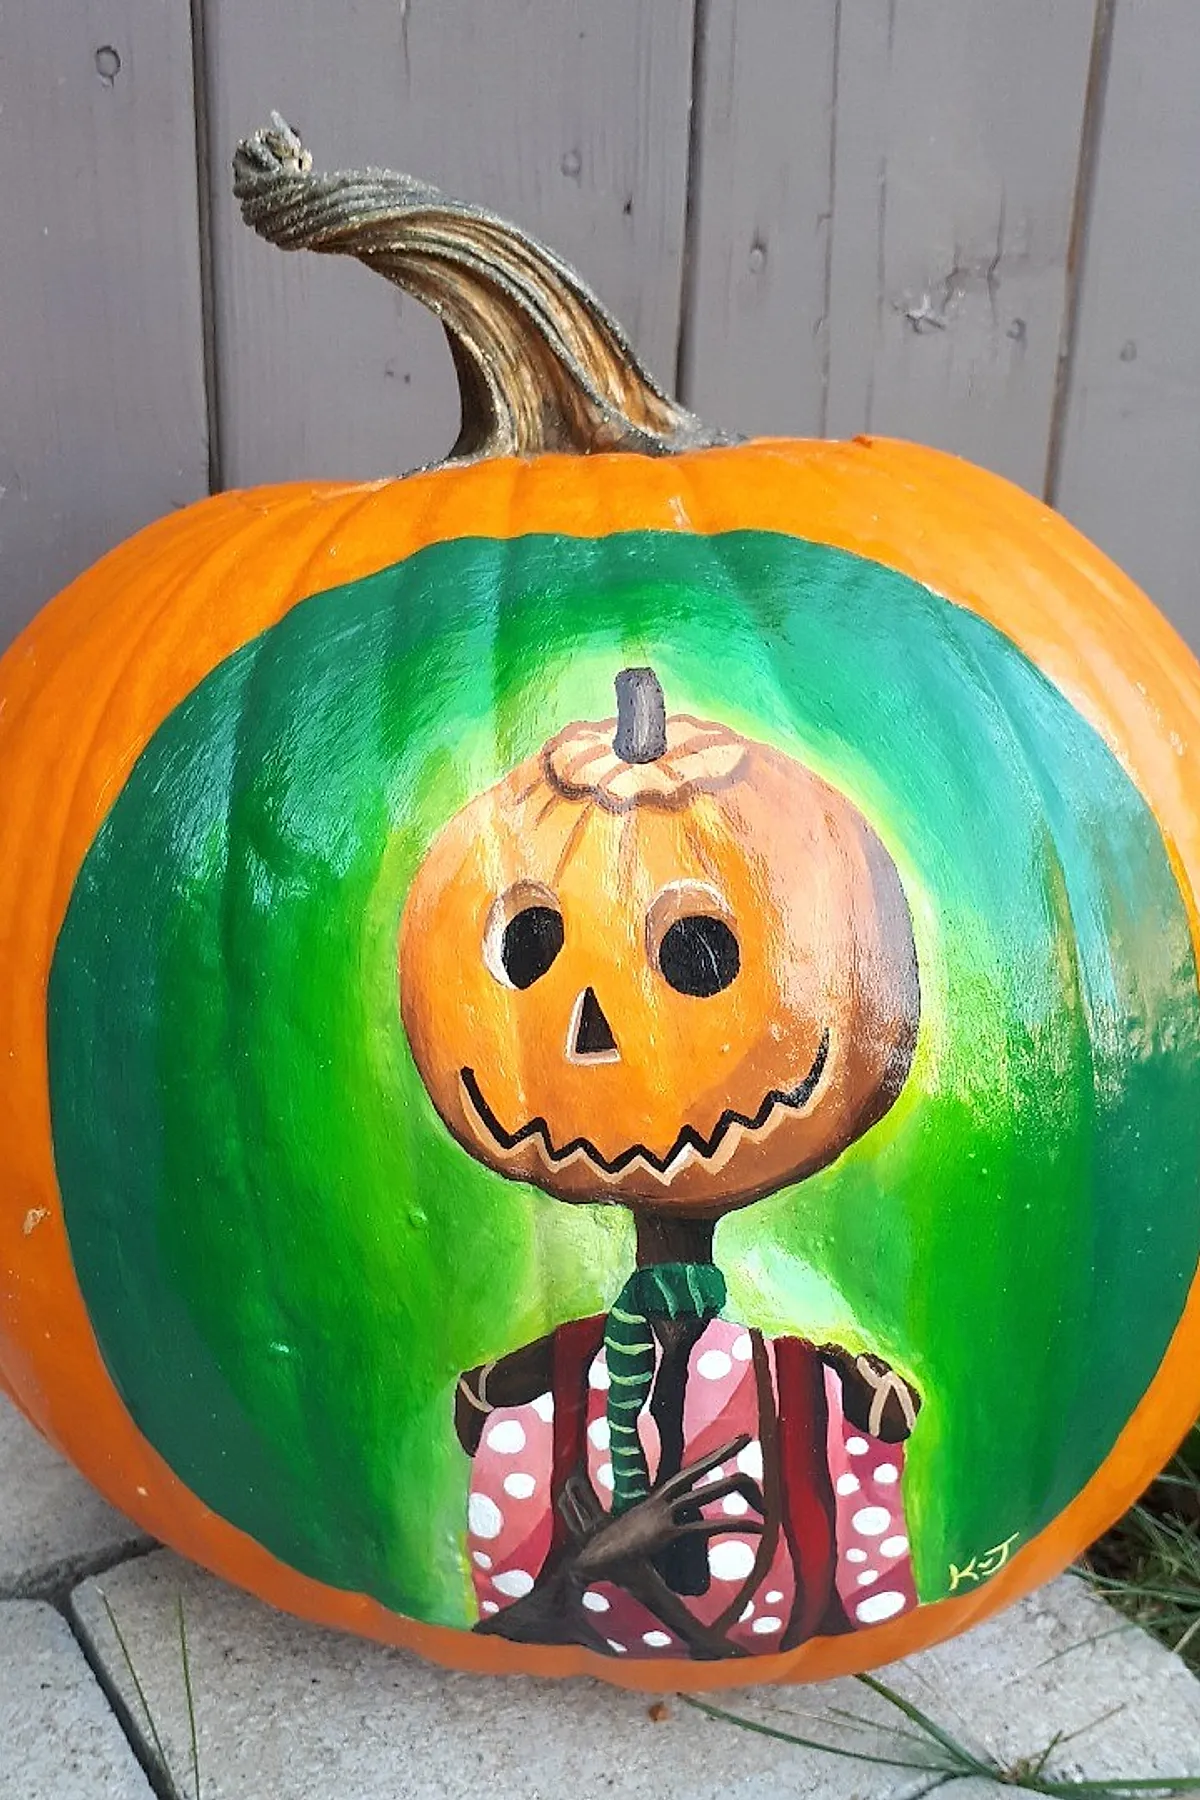
A pumpkin character has a green backdrop, a goofy grin, and a polka-dot shirt, with a fabric scarf at the base. Paint or glue the scarf in place. Painted characters look bright from the street and sag less than carved faces.
Pastel Pink and White Halloween Pumpkin
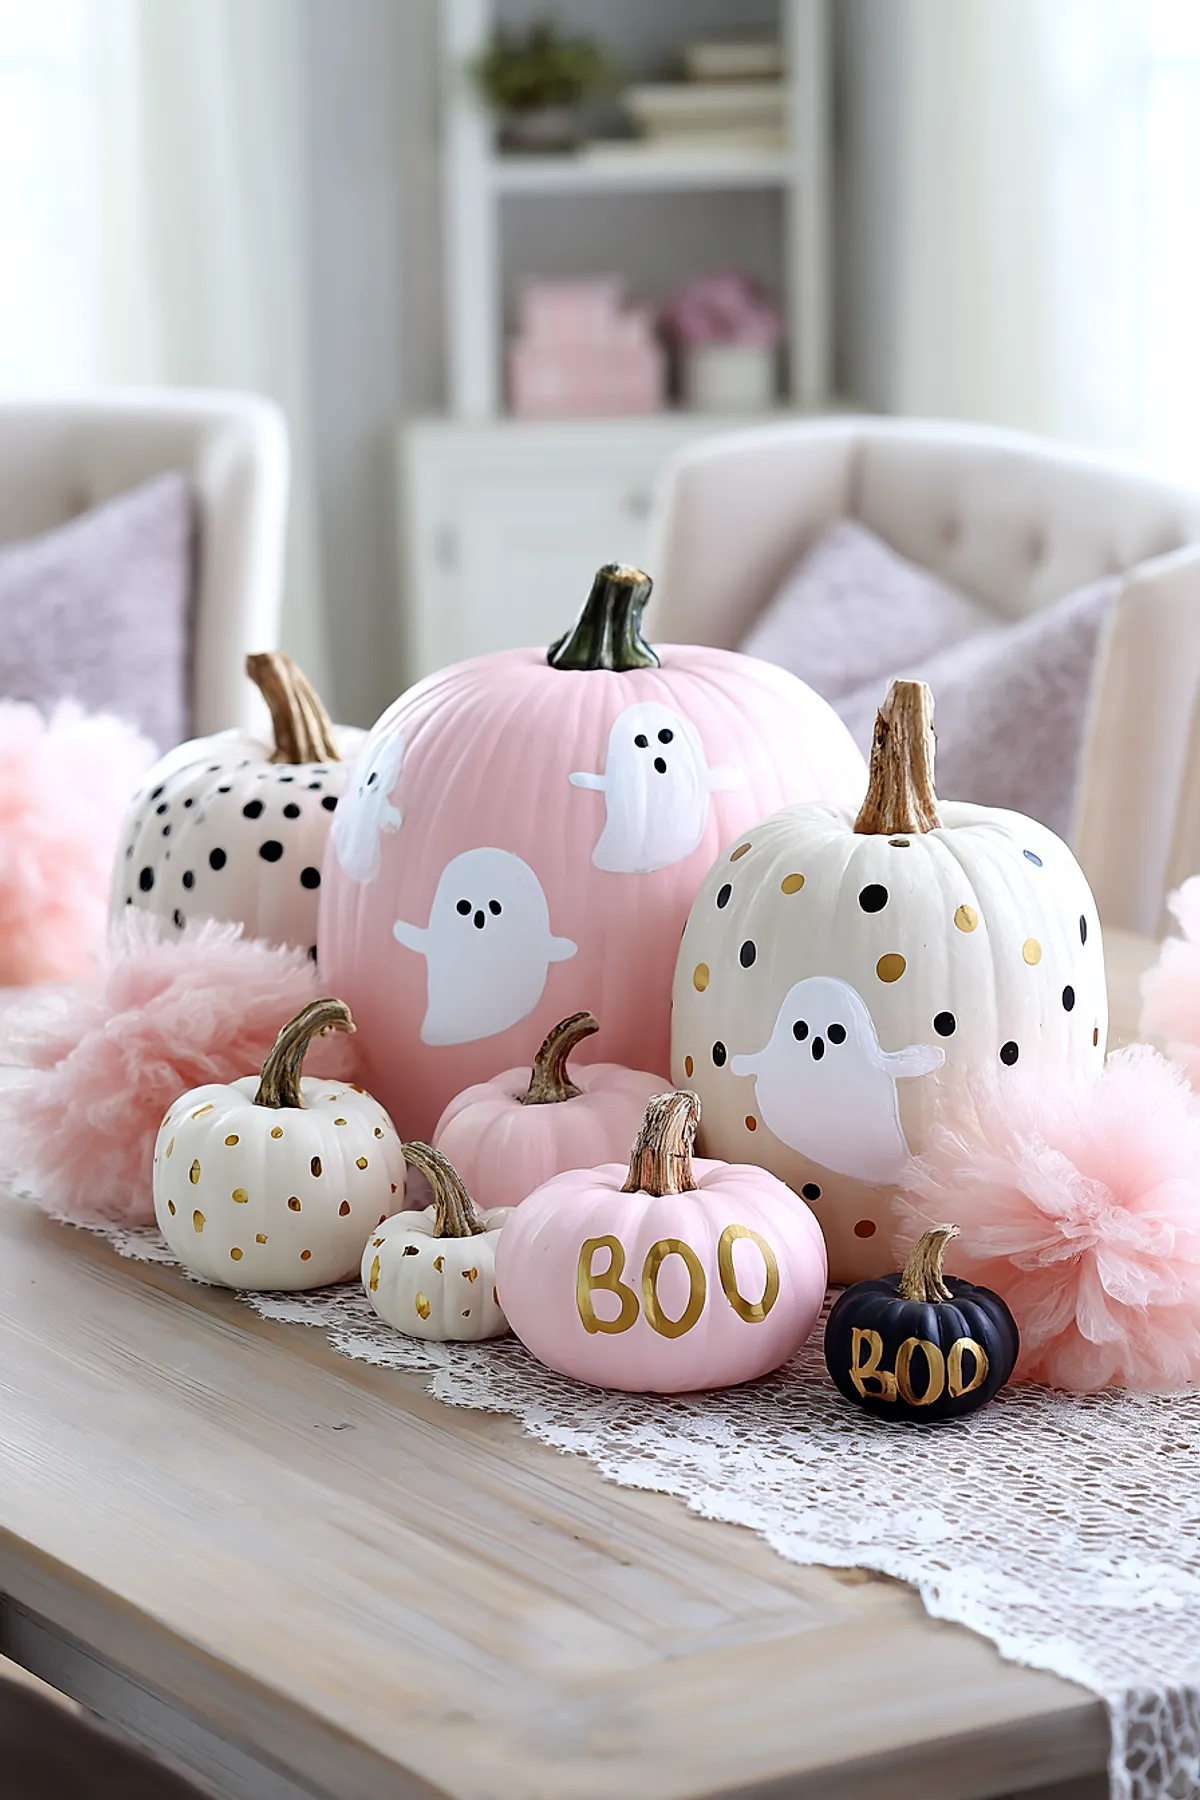
The soft colors remain gentle, with a sprinkle of dots and small friendly ghosts added to the surface. Pastel pink and white make Halloween feel sweet, and the pumpkins can last all season with cute faces that remain in place.
Silhouetted Trees Birds and Bats
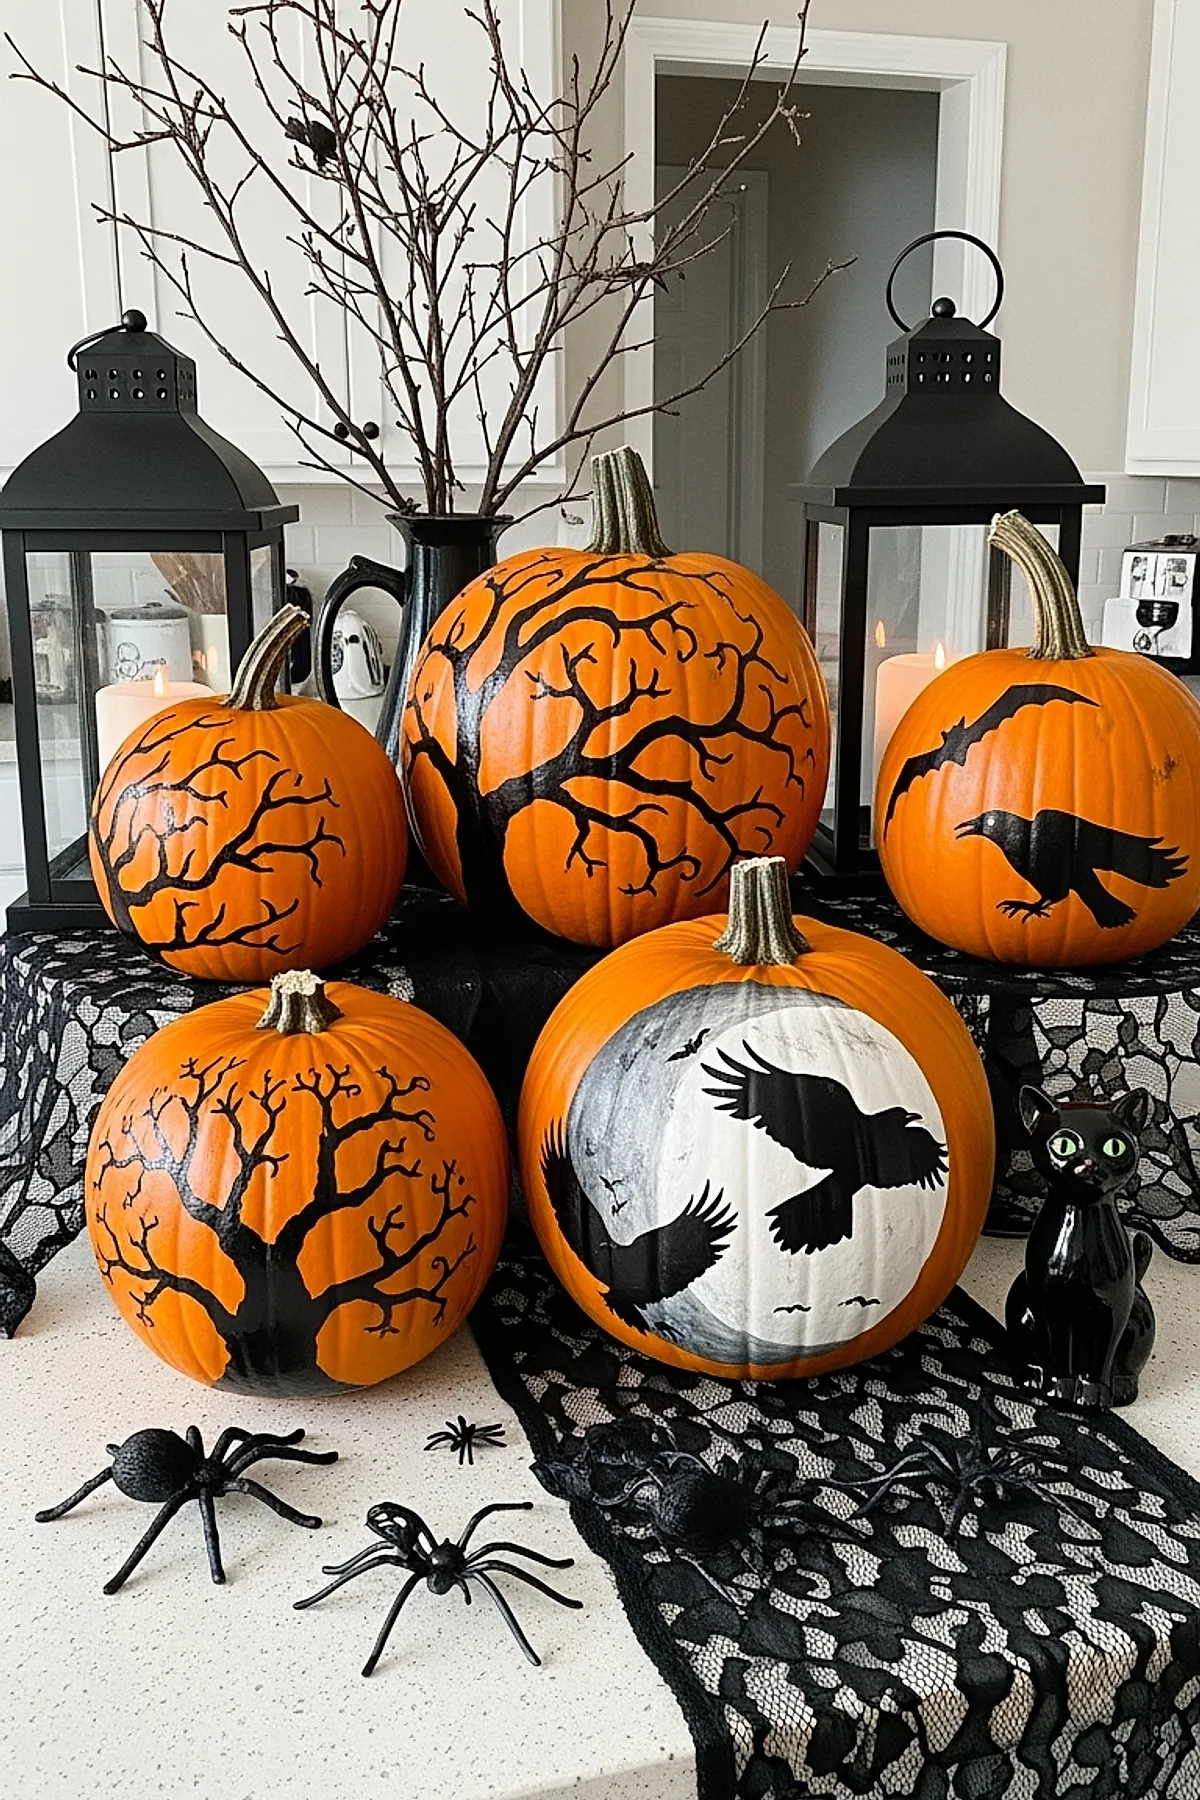
Outline the layout first to make it easier, then fill in the shapes. Layer the pumpkin with lace and twigs for extra texture, letting bare branches sweep around the curved surface. Add birds and bats to the design.
Black Circle and BOO Pumpkin Painting
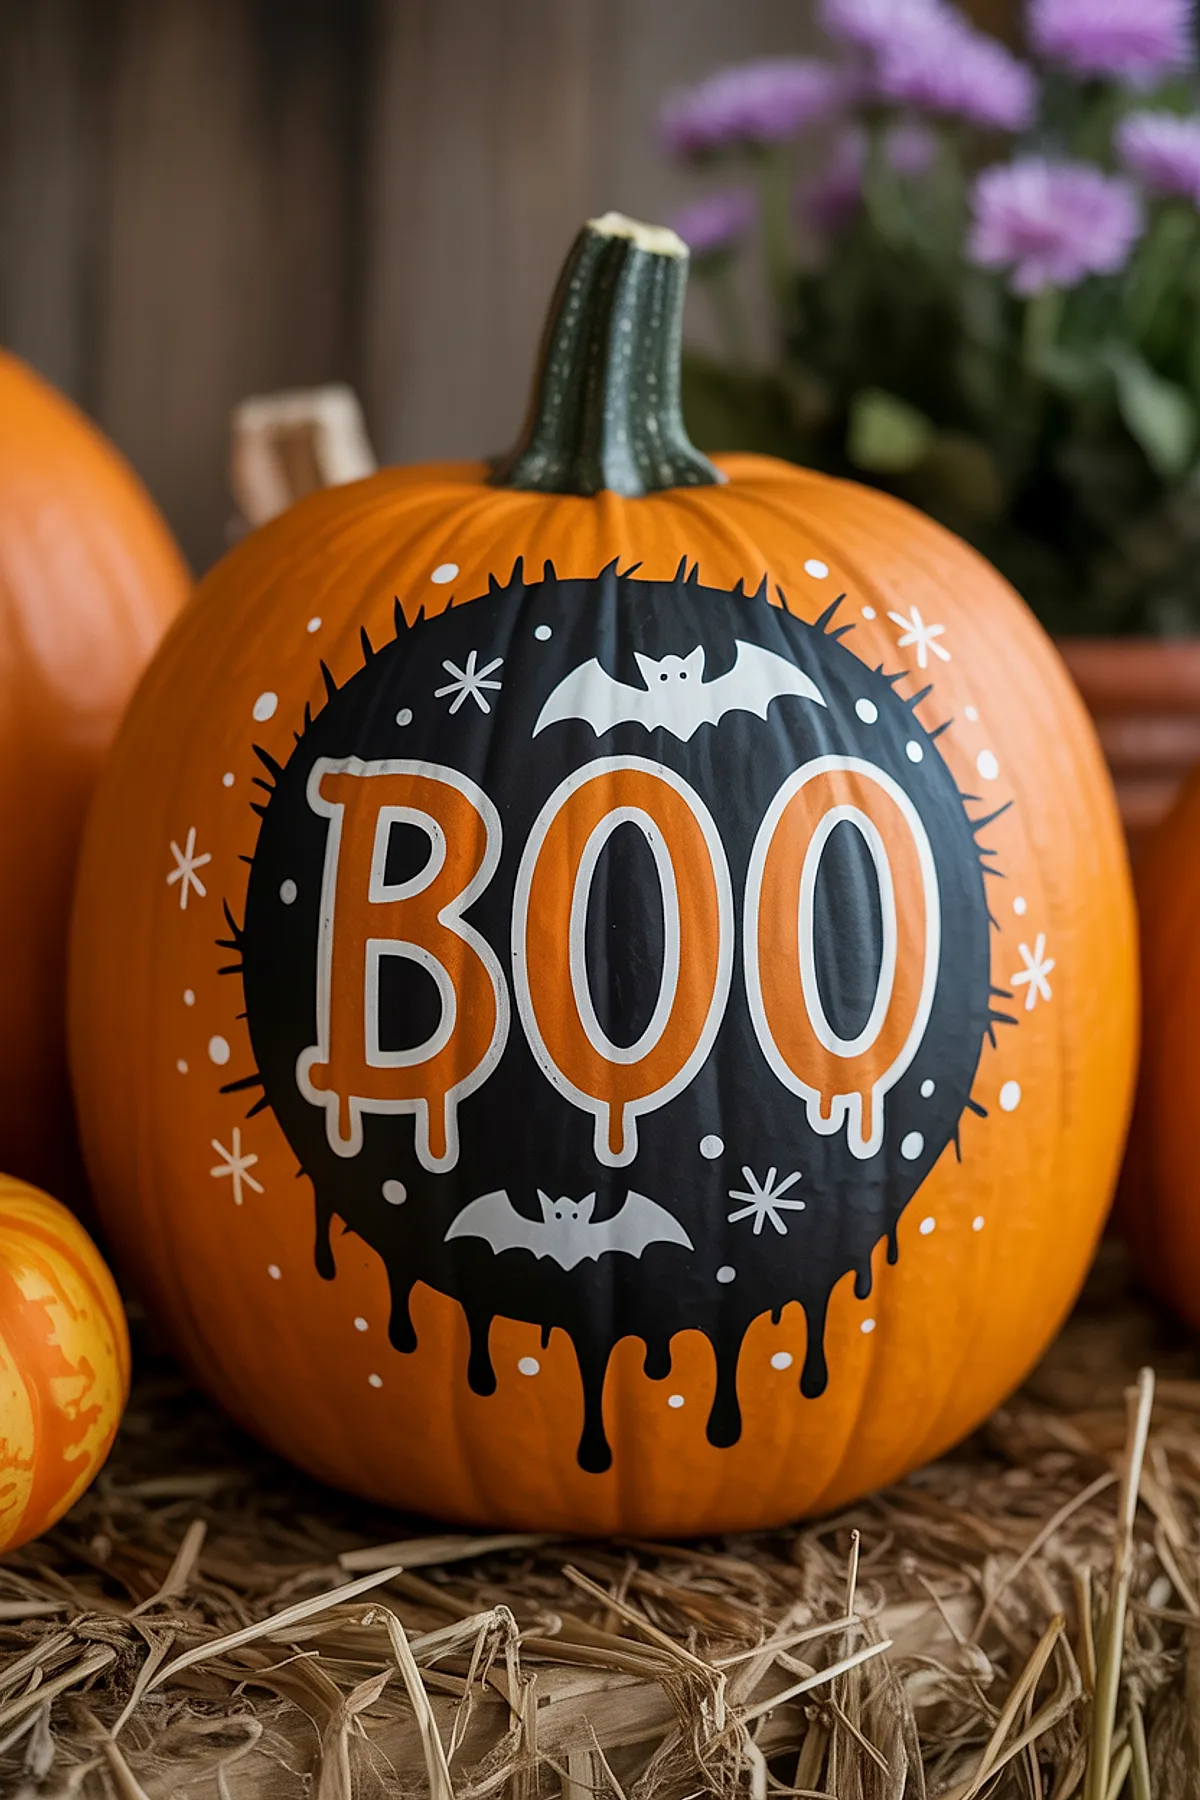
Paint a large black circle with soft drips, then add orange BOO lettering outlined in white. The result is a porch sign with a few tiny bats and star dots added around it. The sign can last through the month.
Hocus Pocus Pumpkin
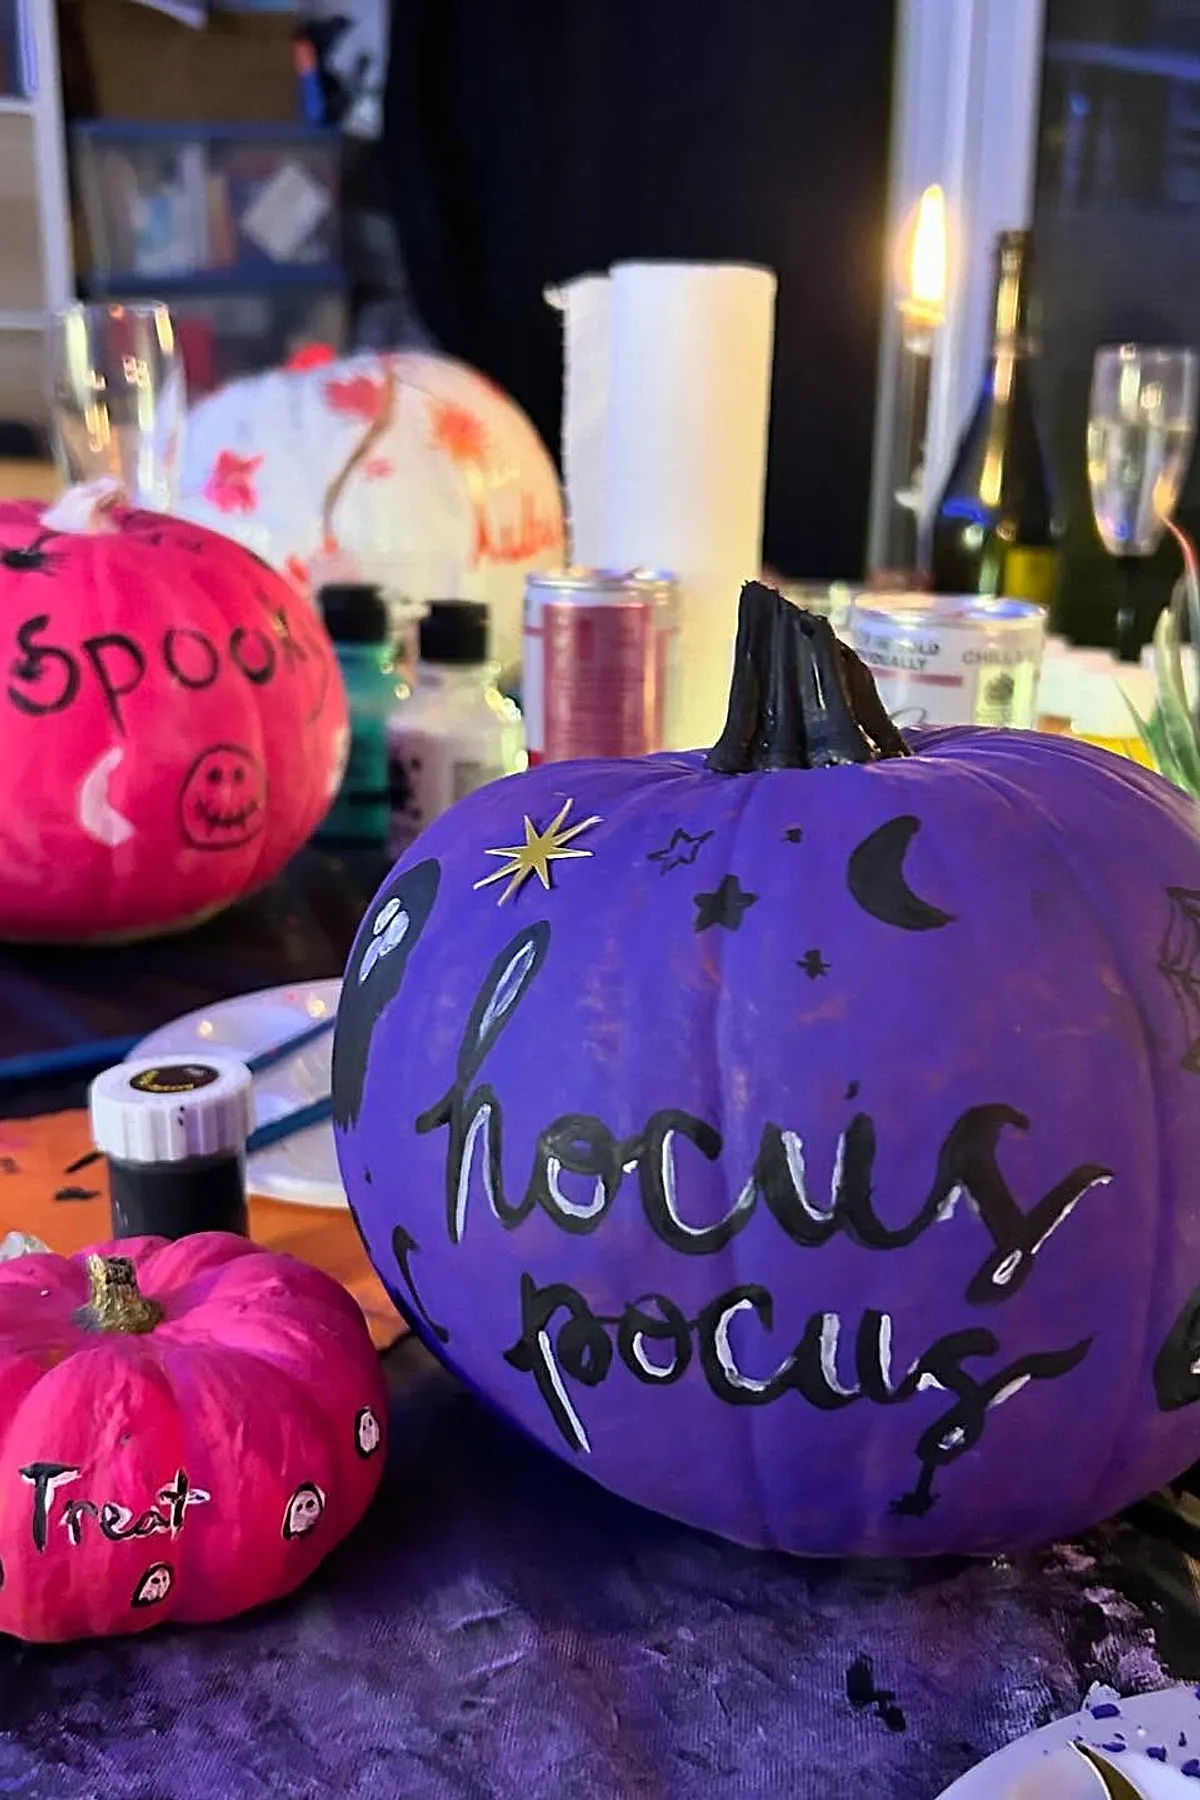
Start with a rich purple pumpkin and add moons, stars, and Hocus Pocus lettering. Sketch the lettering first to work out the spacing, then use acrylic paint to keep the color bold. Pair it with a pink or gold pumpkin for a lively setup.